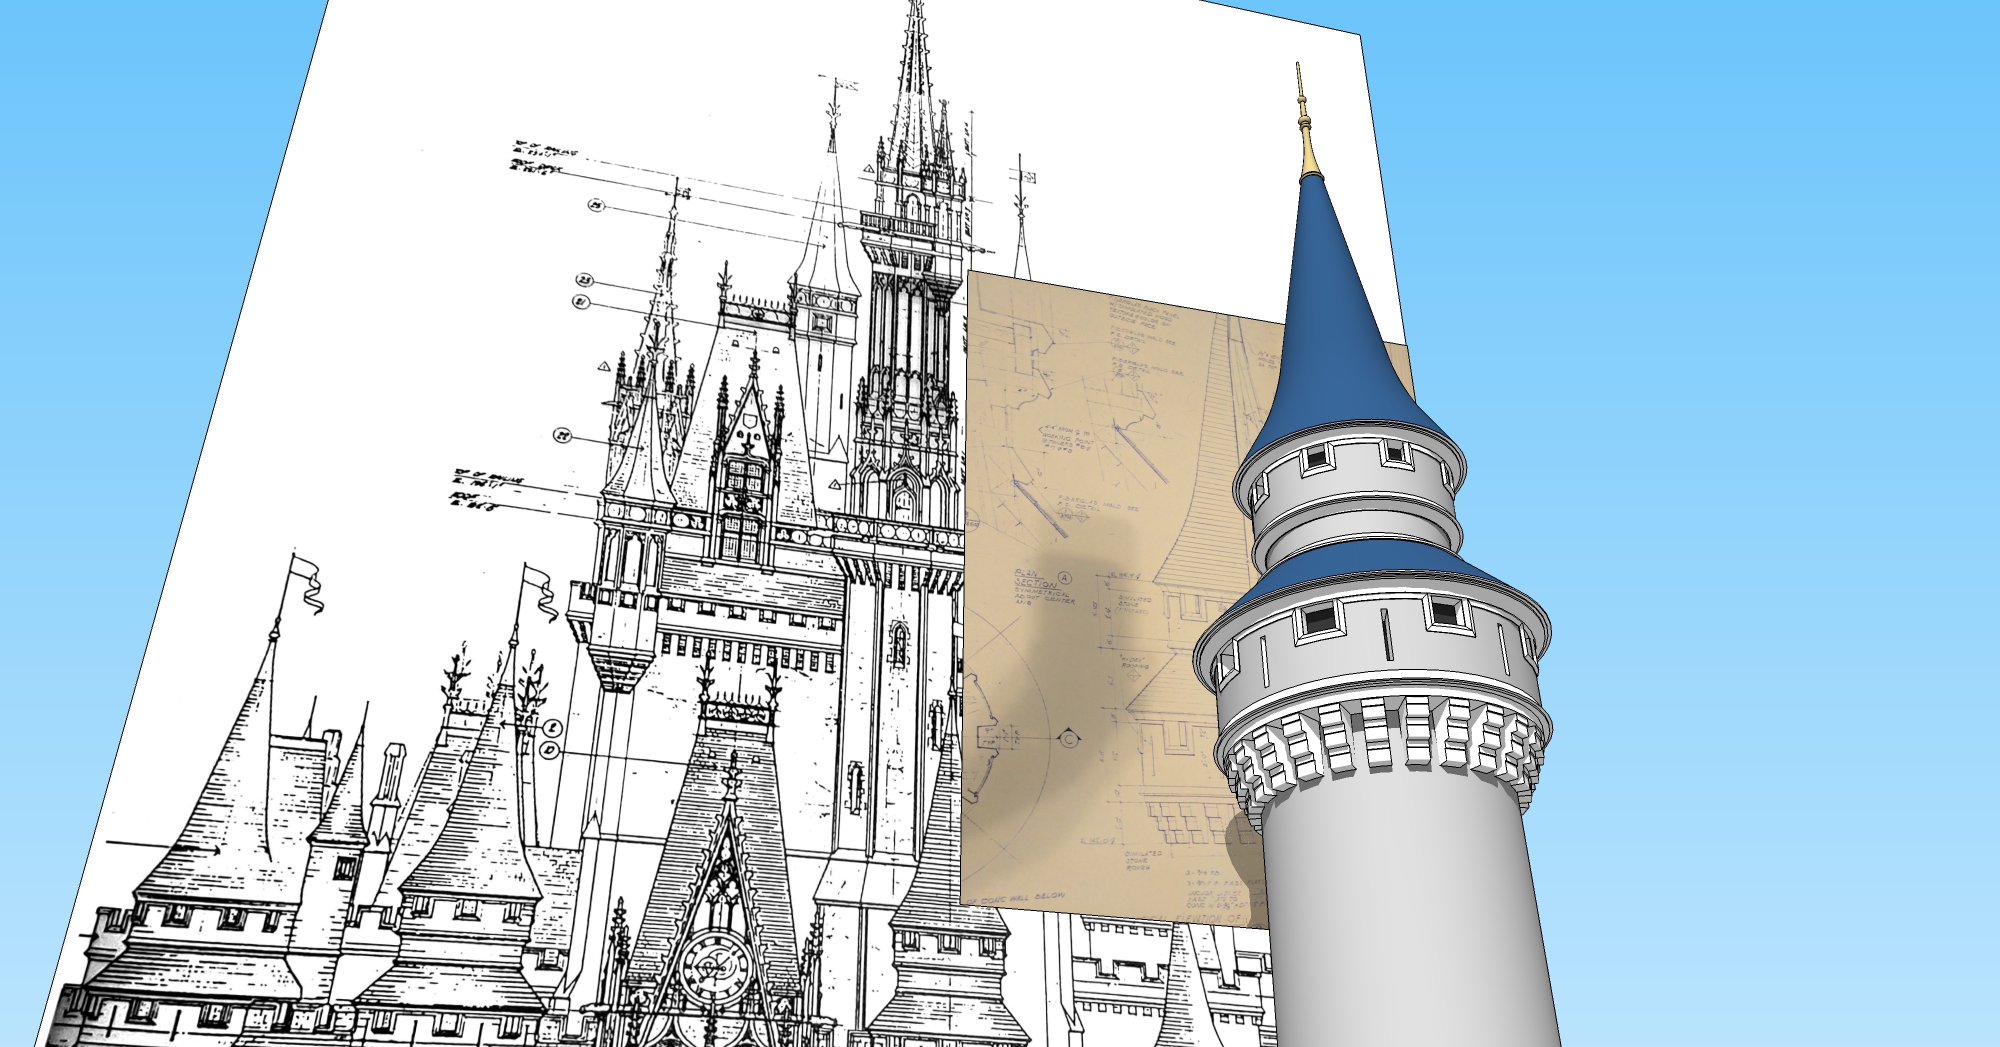
My resolution for this year is to be much more active on my Disney 3D projects. So I decided to tackle Cinderella Castle at the Magic Kingdom in Walt Disney World, Florida. I’ve had my eye on this architectural beauty even before I was into 3D modeling. Back when I was a wee lad, I owned a book on Disneyland and it showed the Tokyo Disneyland version. I fell in love with the attention to detail and the grand scale of the castle compared to Disneyland.
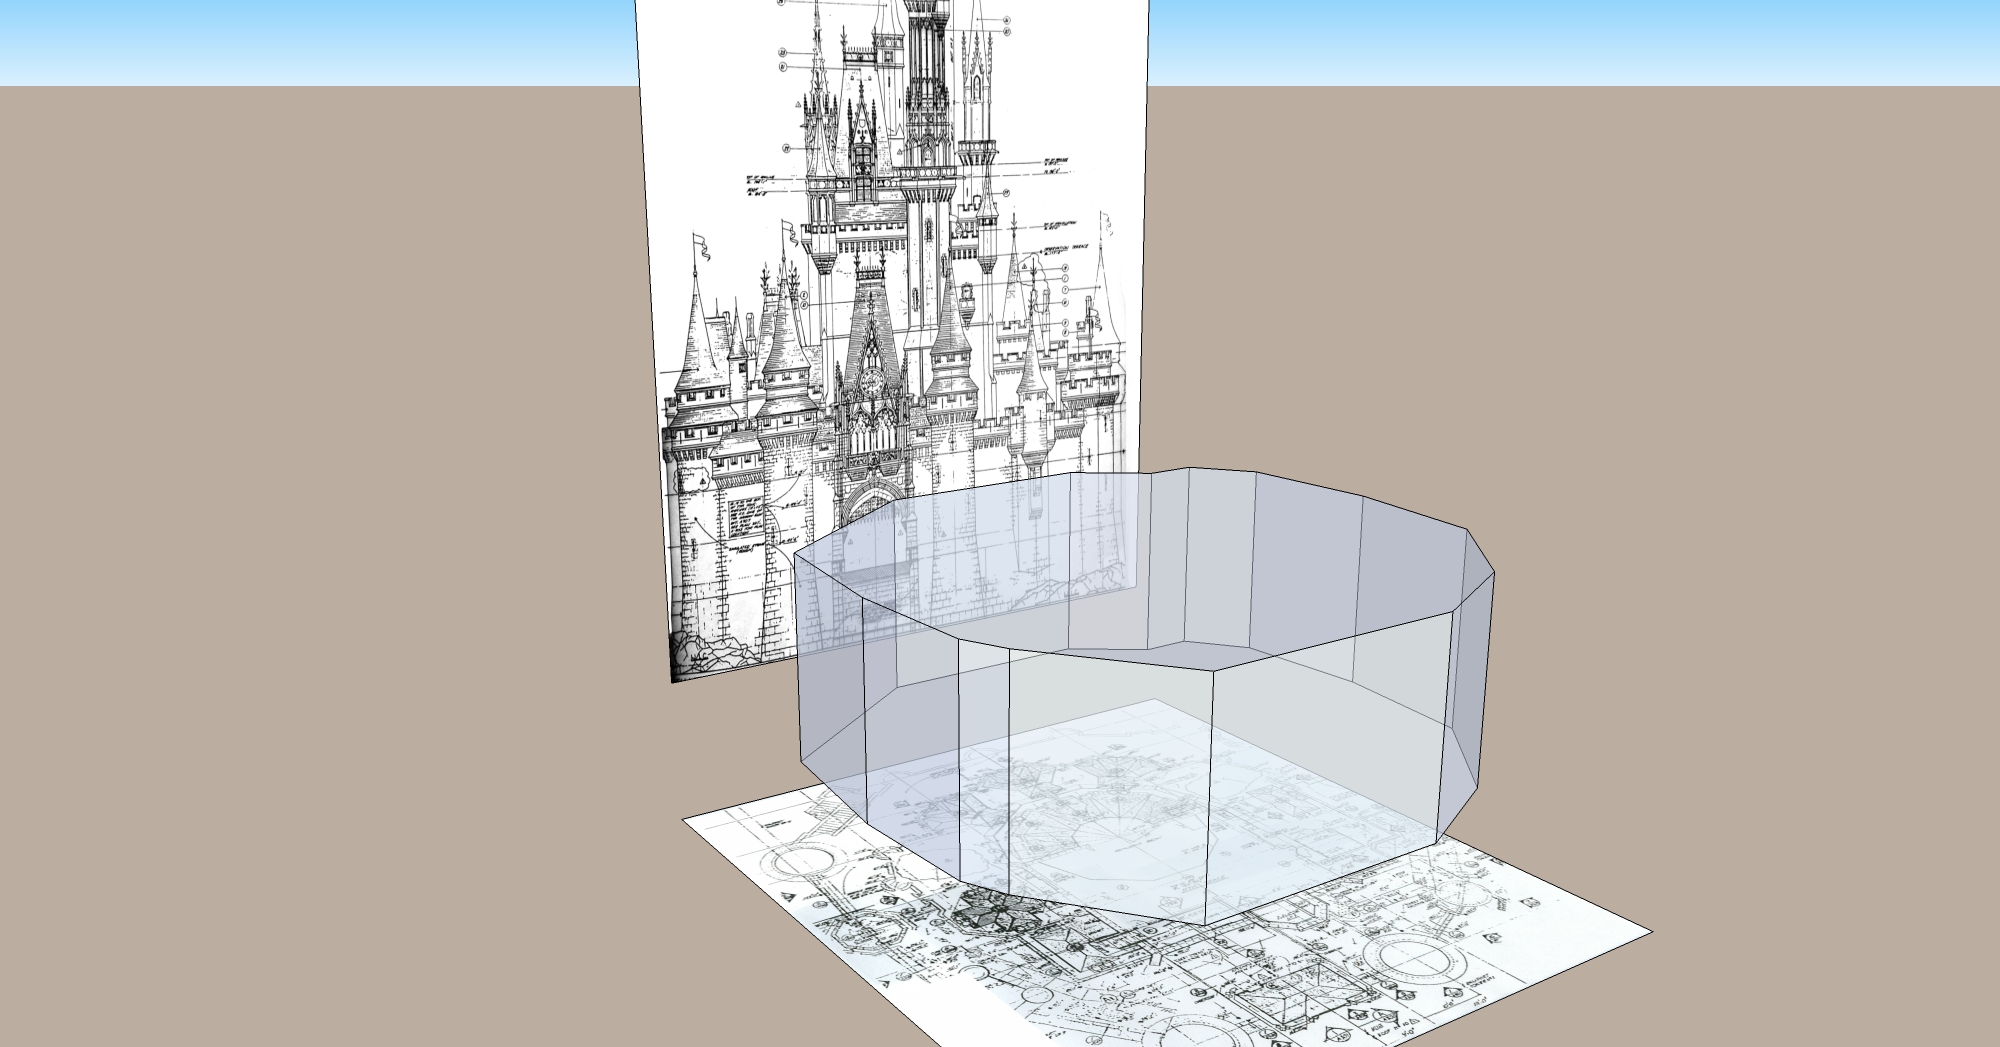
After visiting Walt Disney World recently and taking oodles of photos, I began to plan my attack. Pulling together hundreds of resource photos and rough blueprint shots found online, I began in earnest this past week. First step in modeling: Adding reference images, finding the correct scale, and drawing out the base. Not super exciting, but it is literally the foundation upon which everything else is built.
Towers 1 & 2 are identical, at least according to what I can read off the blueprint photos. I drew the profile from the spire to where the upper section meets the base, and then lathed it 360 degrees. What you’re looking at in image #2 is a section plane cutting it in half so you can clearly see the profile.
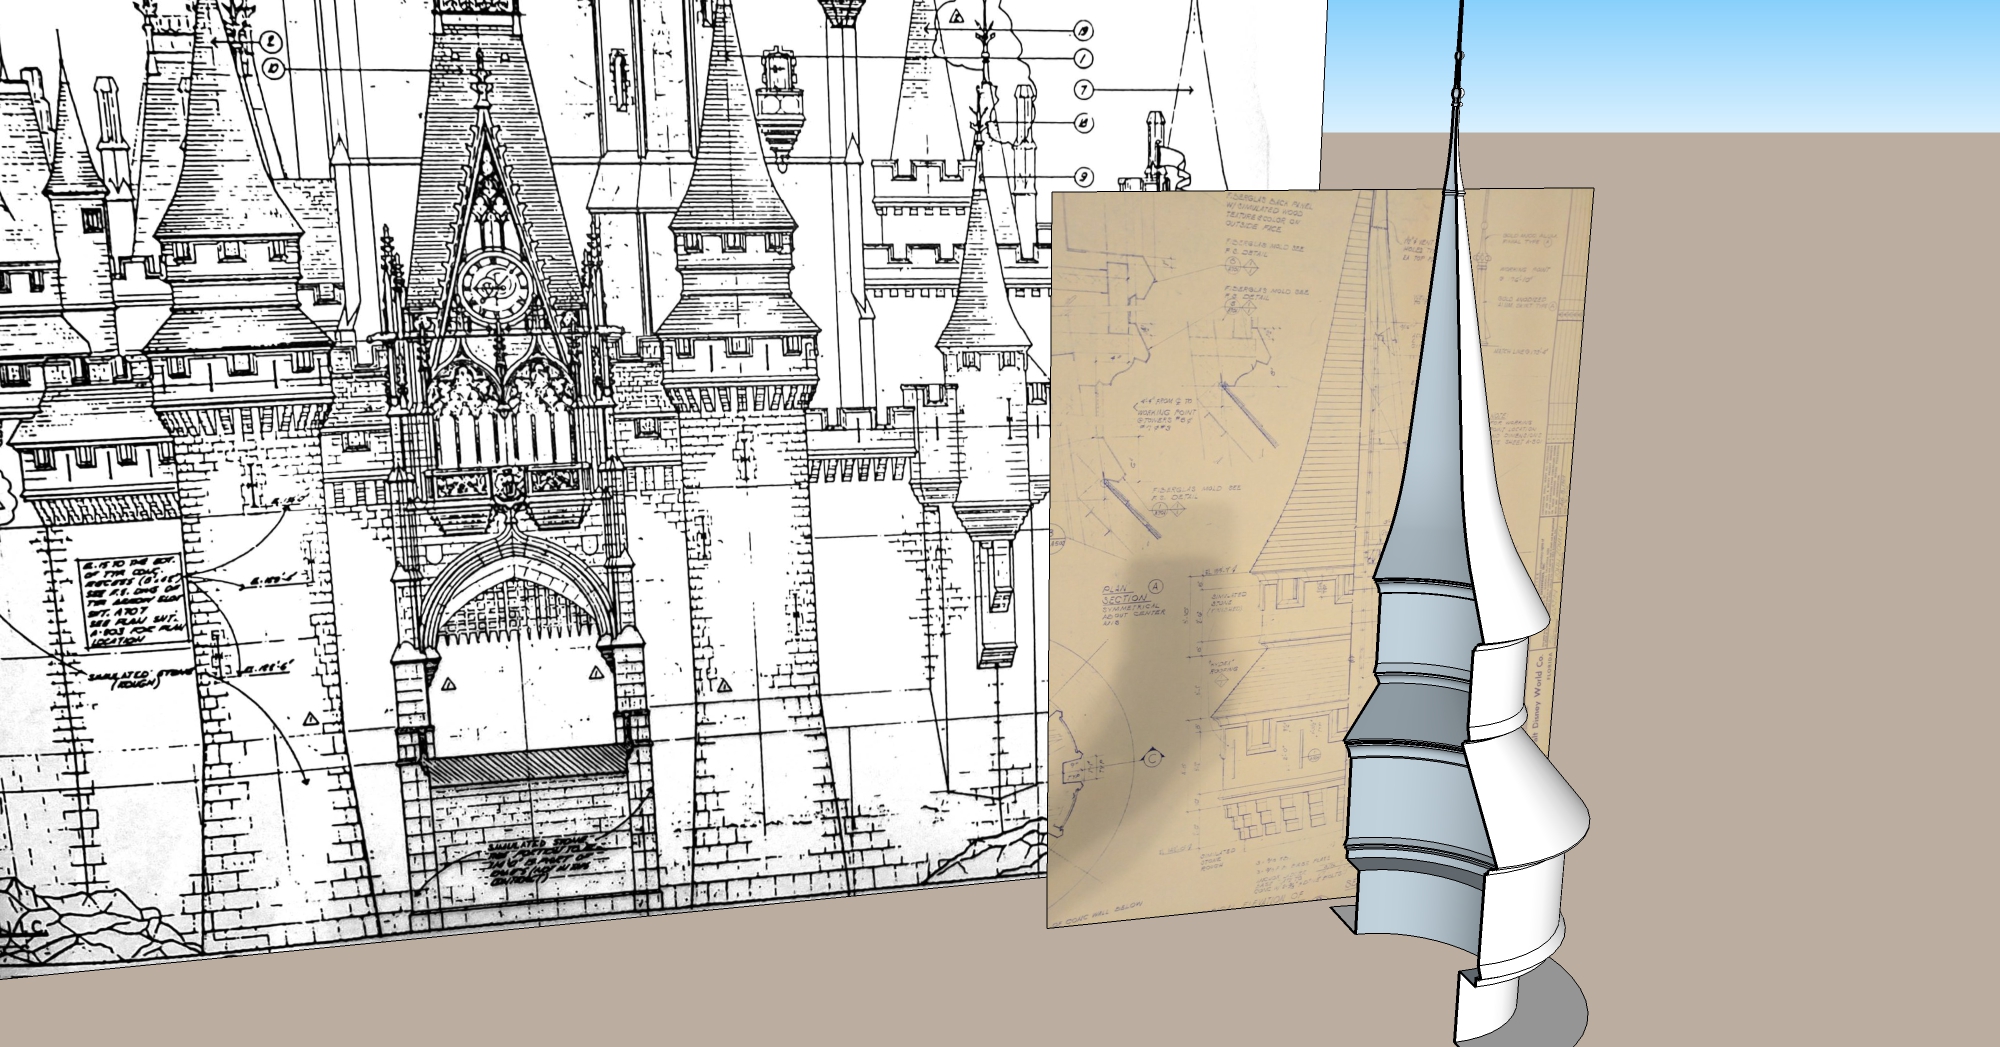
Image #3 shows the geometry that makes up Towers 1 & 2, and I’ve added the corbels (24 in total) to the underside of the mid-turret area. The most complex part of adding the upper windows was creating a path for the trim shape to follow as a loft.
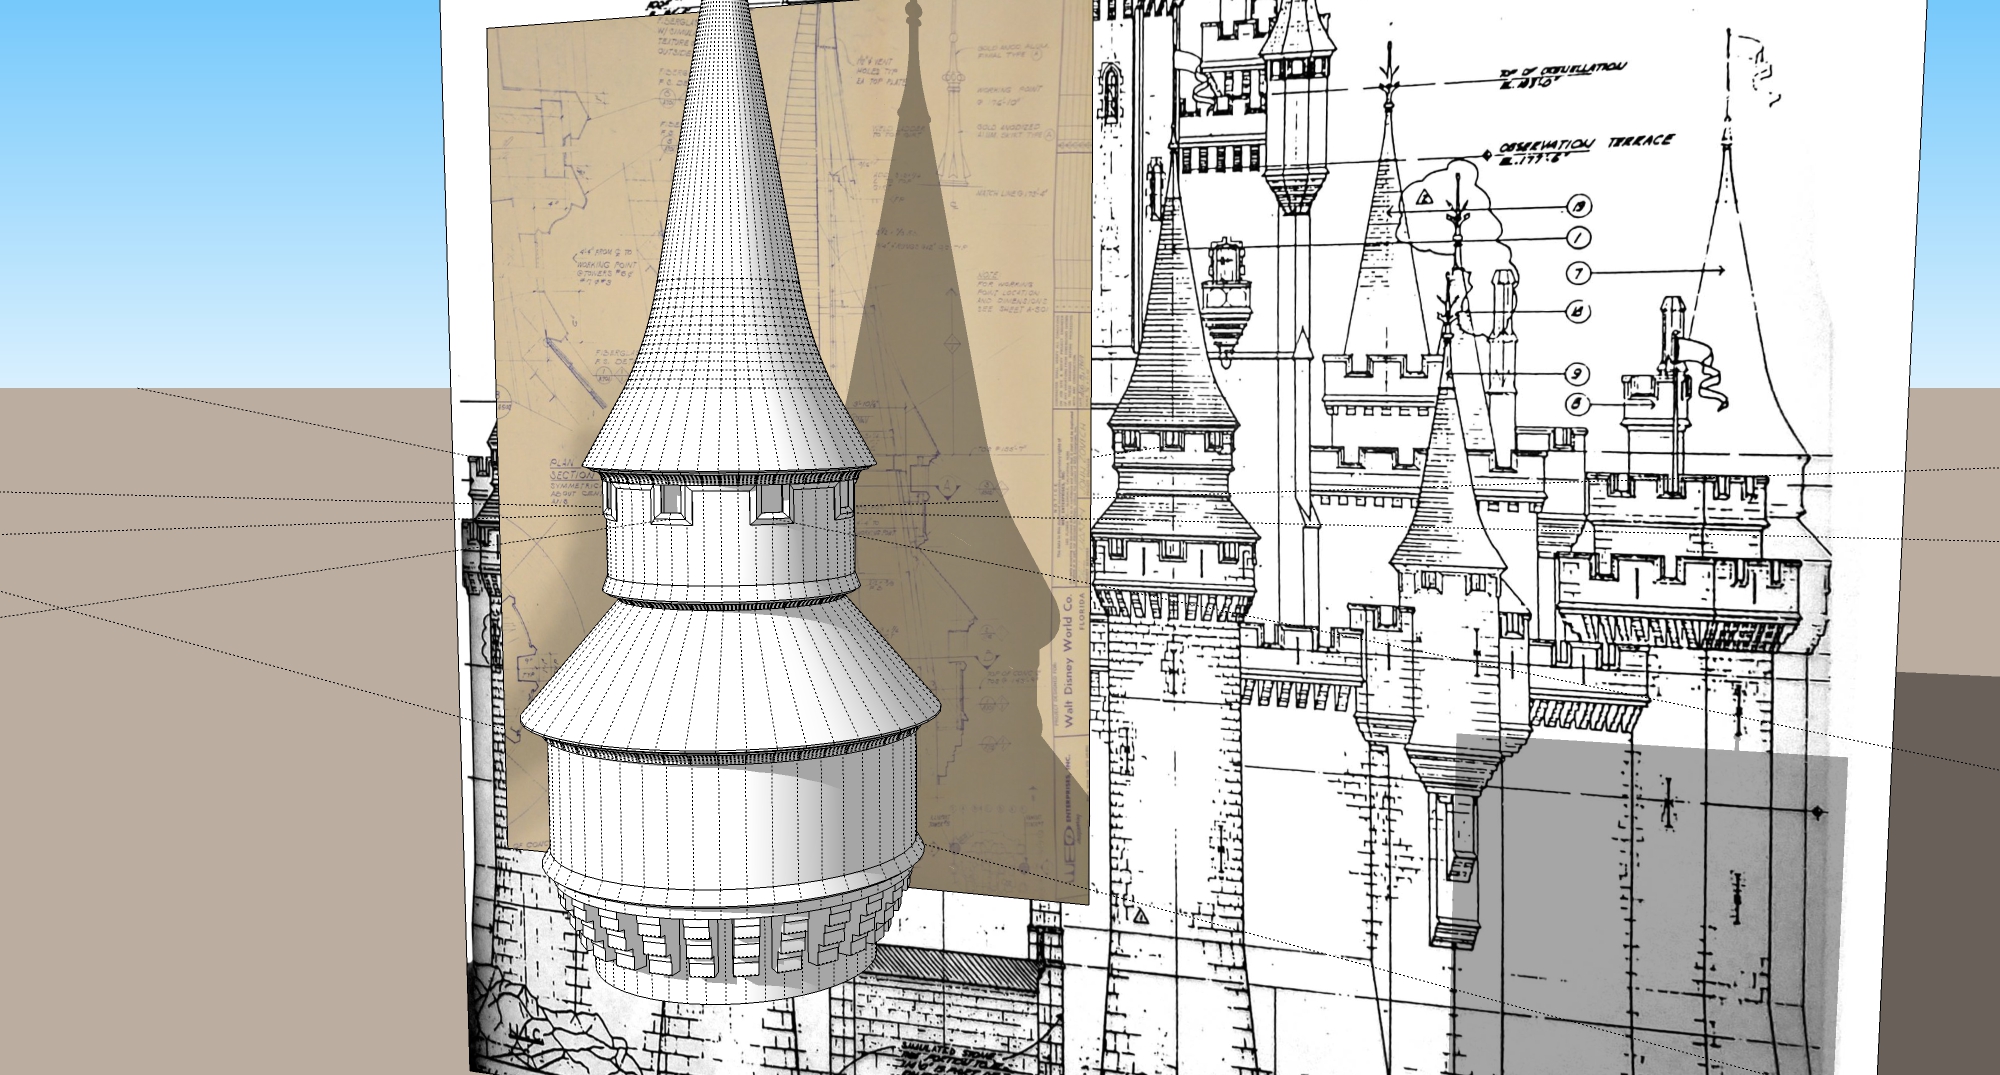
Image #4 shows what a difference color can do to a renders, along with shadowing. Also added windows to both sections and arrow slits/slots.

