My progress on this has been slow for sure, but we’ve had some great family trips recently and welcomed Baby Olivia to the family in March. I’m currently typing this with her sleeping in my arm.
I hope to pick up the pace on this project, seeing as the Walt Disney World & Magic Kingdom 50th Anniversary is right around the corner. With that said, let’s catch up on the Cinderella Castle 3D model progress.
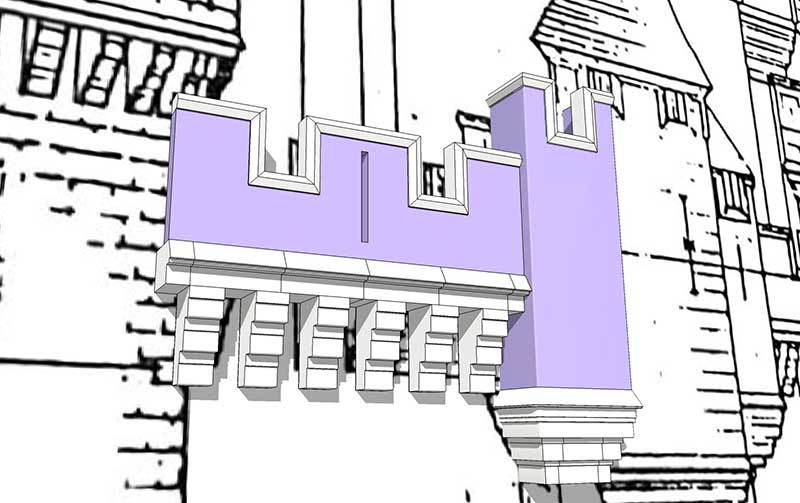
1. Working on the curtain wall that connects Tower 1 and Tower 9. The molding and corbels are designed reused on most aspects of the castle. (False color so that detail stands out.)
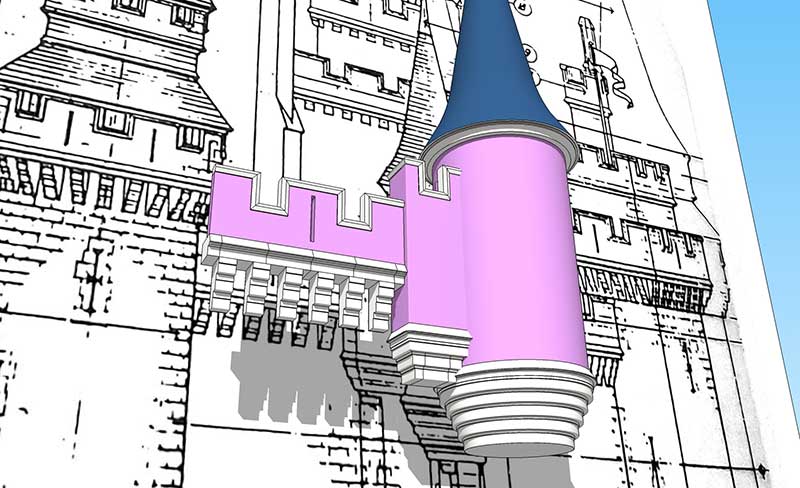
2. Tower #9’s main turret is seen here with nearly all its detail. The arrow slot is left to add + its lower buttress. I may not have a full set of blueprints, but the small photos of blueprint detail help tremendously!
3. Tower #19 is coming along much easier than others, mainly because of its shape. The trim shape is the same as the curtain wall and Towers 1 & 2, but the corbels required a slight modification
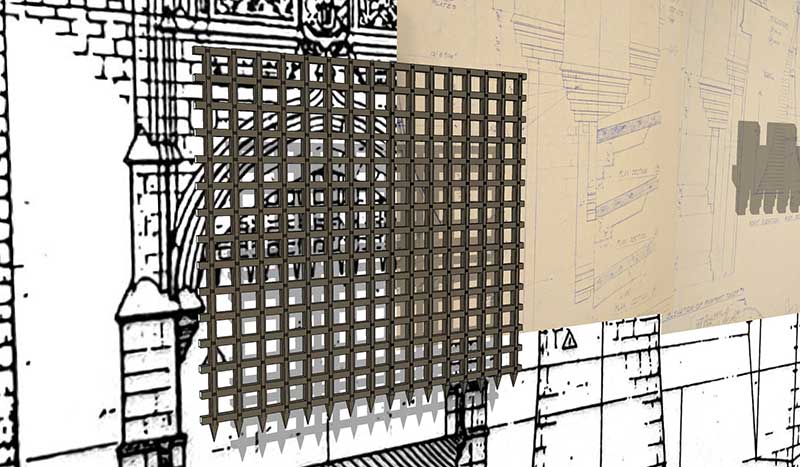
4. Yup, I cheated a bit. Pulled this Portcullis from my Sleeping Beauty Castle model. I can’t imagine they are much different, but I can’t seem to find any photos of the Cinderella Castle version. I only see it in this construction document from the Imagineering book. “A portcullis (from the French porte coulissante, “sliding door”) is a heavy vertically-closing gate typically found in medieval fortifications, consisting of a latticed grille made of wood, metal, or a combination of the two, which slides down grooves inset within each jamb of the gateway.” -Wikipedia
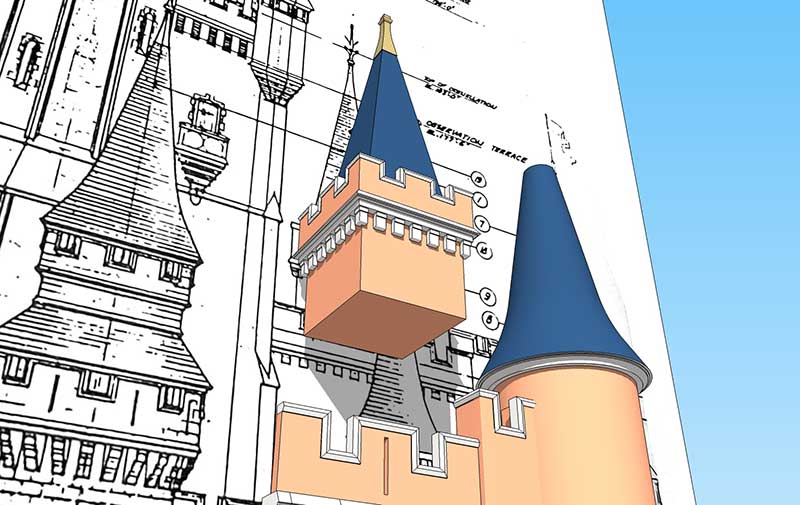
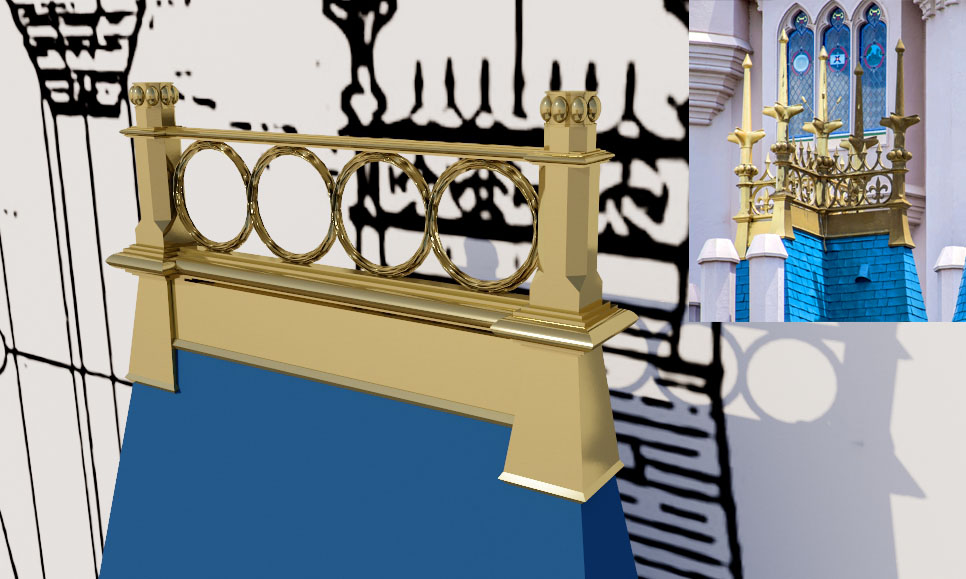
5. Halfway through this gold roof capping/decoration. I have zero measurements for this area, so it’s all based on reference photos. I decided to see how the render would look by using the Visualizer plugin for SketchUp 2015. First time I’ve seen it turn a color reflective and shiny.
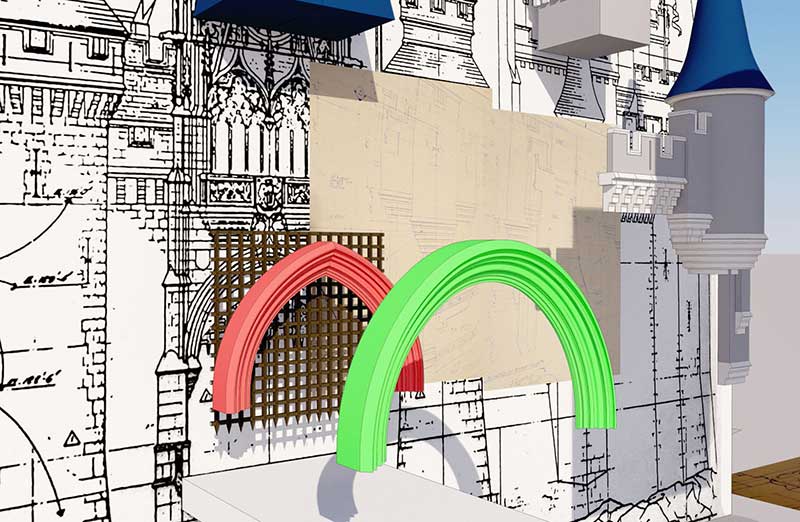
6. Drew out the entrance arch molding. A beautiful design and the front arch is fully rounded where the main backside arch is pointed.