Haunted Mansion
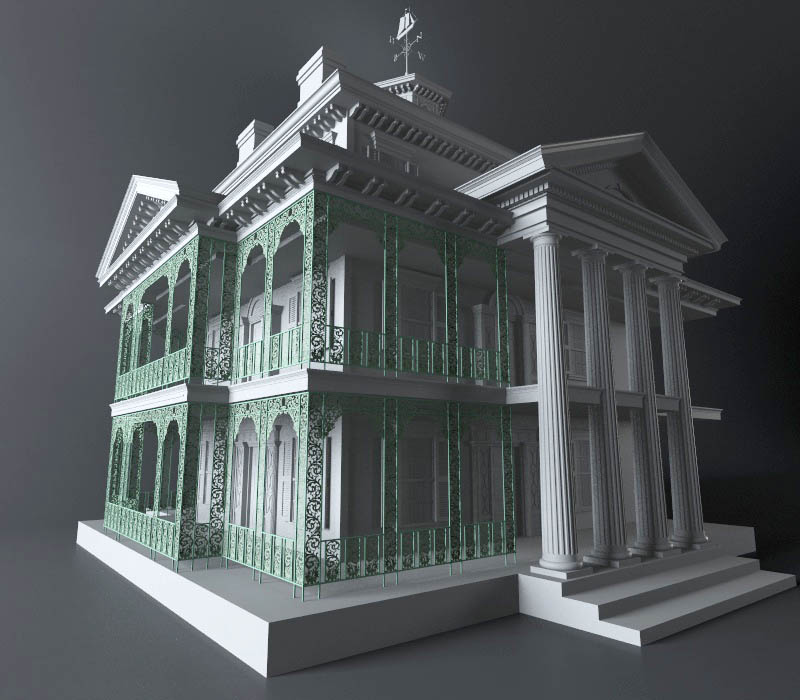 This is currently the only attraction that I am modeling the exterior AND interior. Another wonderful example of just how complex a ride track can be, and how talented the imagineers were when designing this 'E' Ticket attraction. And I think we can all agree that some of the best attractions at Disneyland are those that go underground!
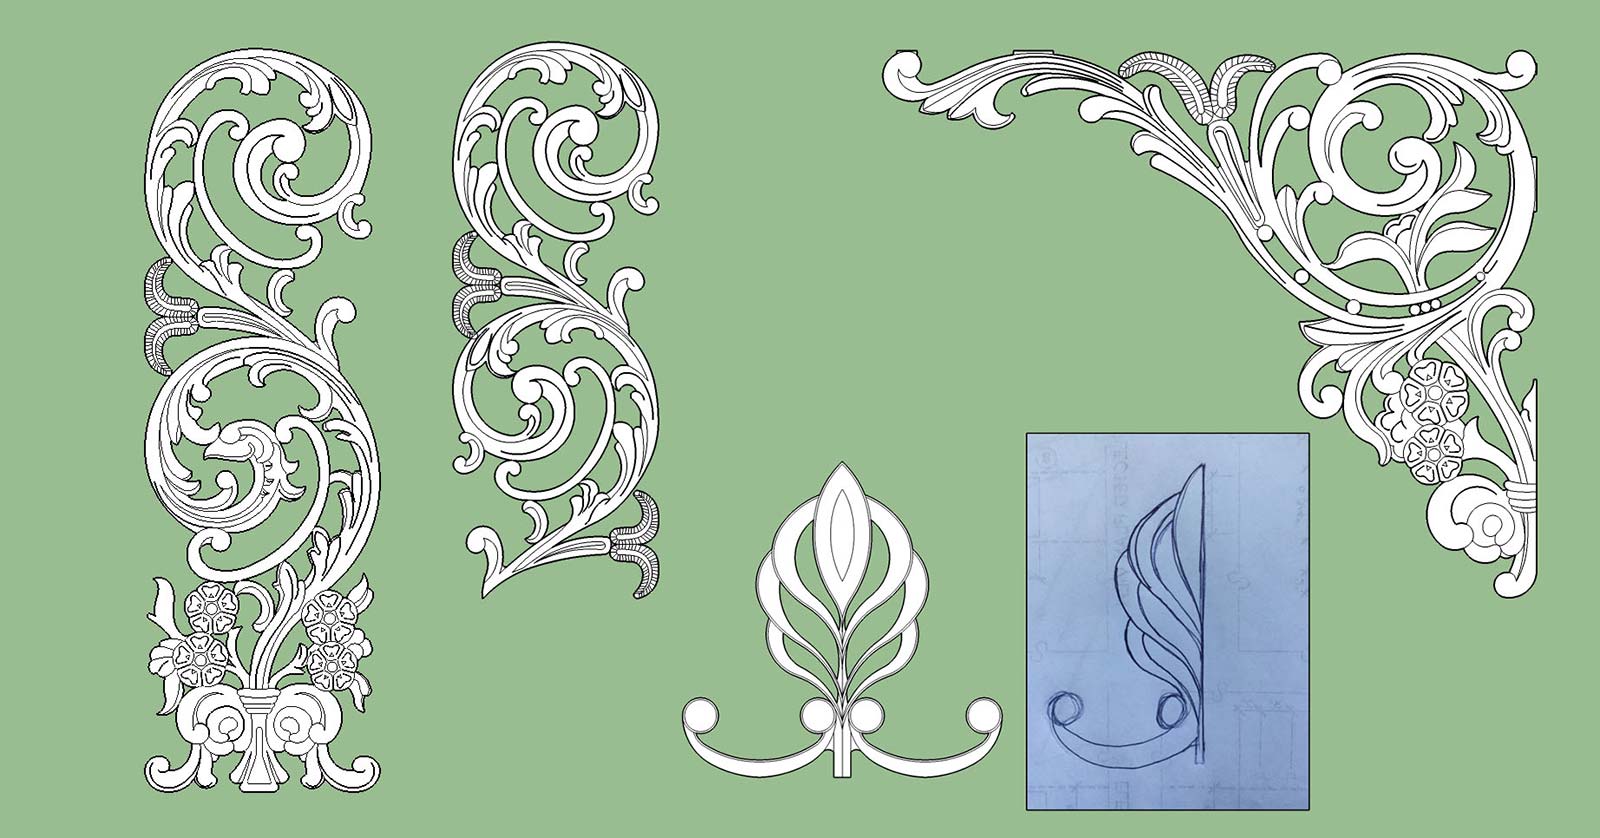
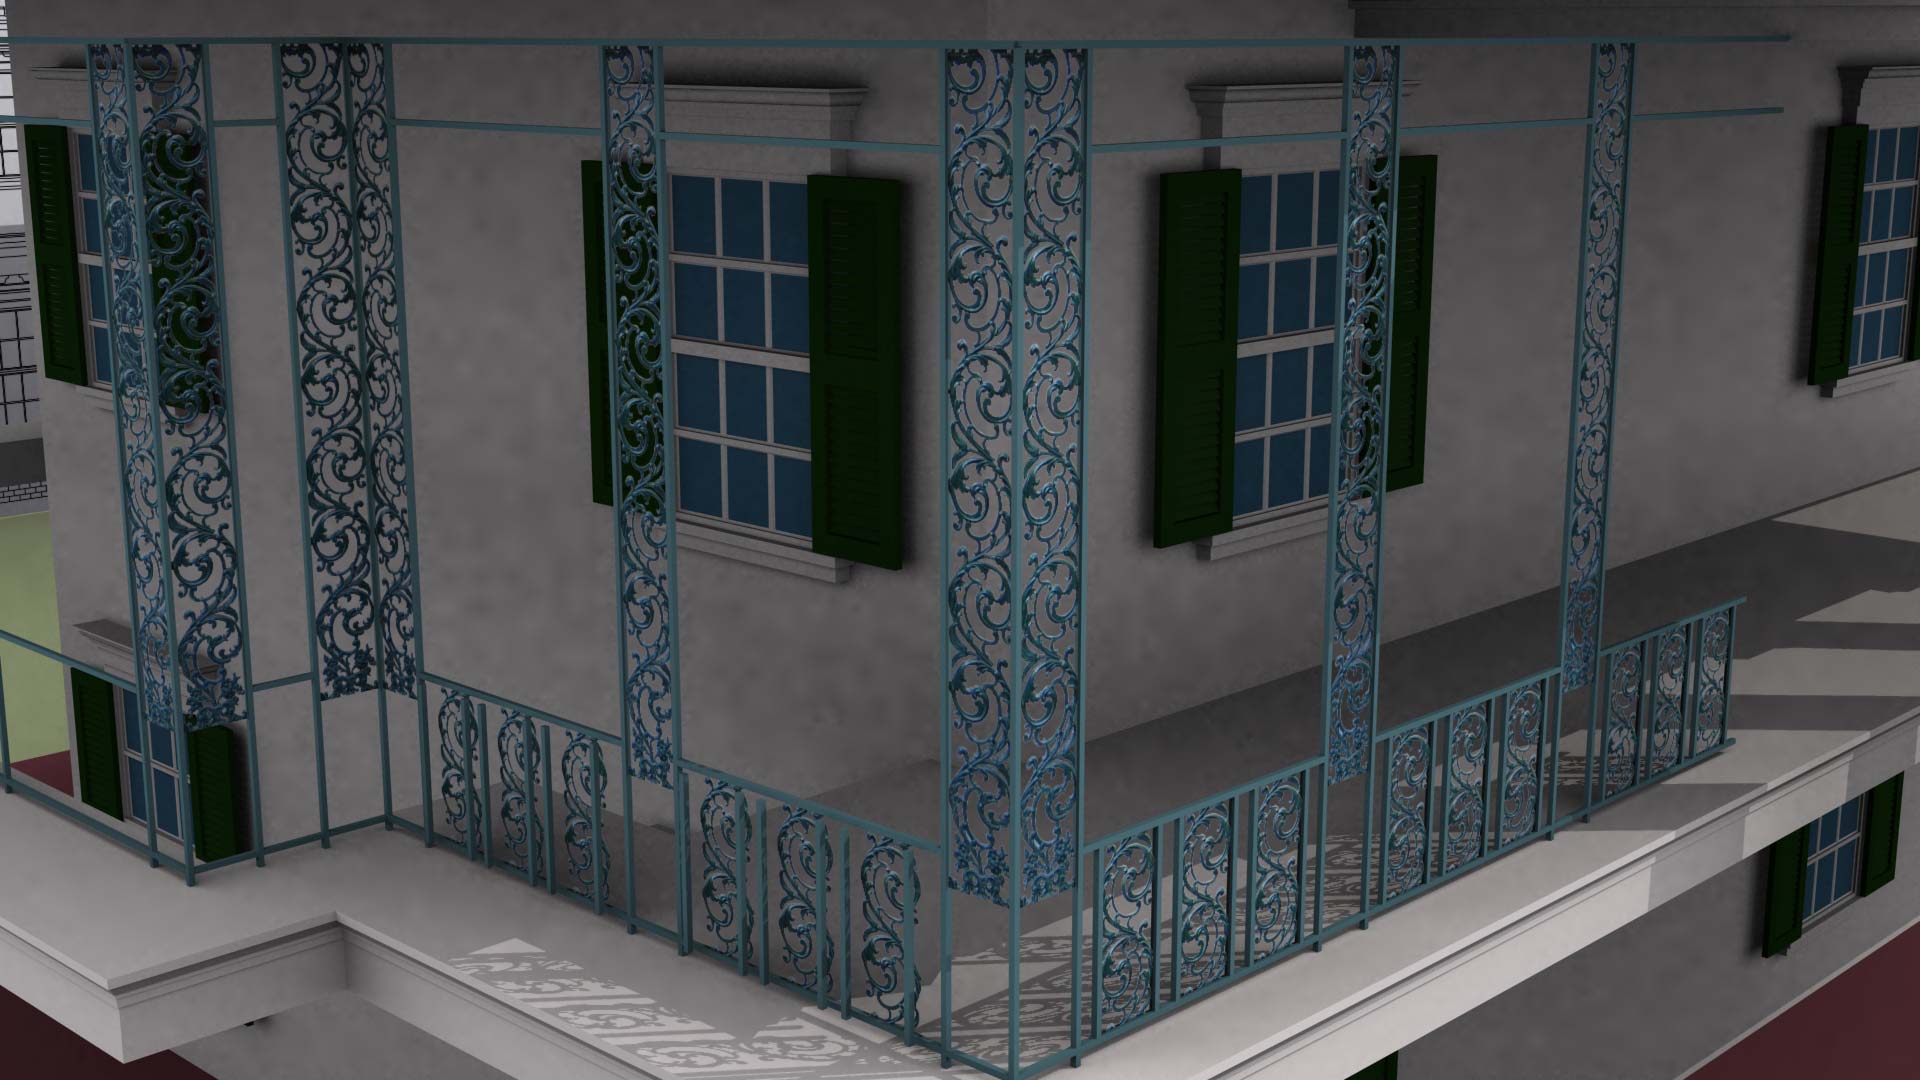
A few years ago, a friend was able to find the CAD drawings created by the company that originally designed the wrought iron for the Haunted Mansion back in the 60's. So far I have four separate elements being used from the top to the bottom of the building. You'll notice one of them had to be hand sketched based on a blurry photo. The element adorns the top railing surrounding the cupola.
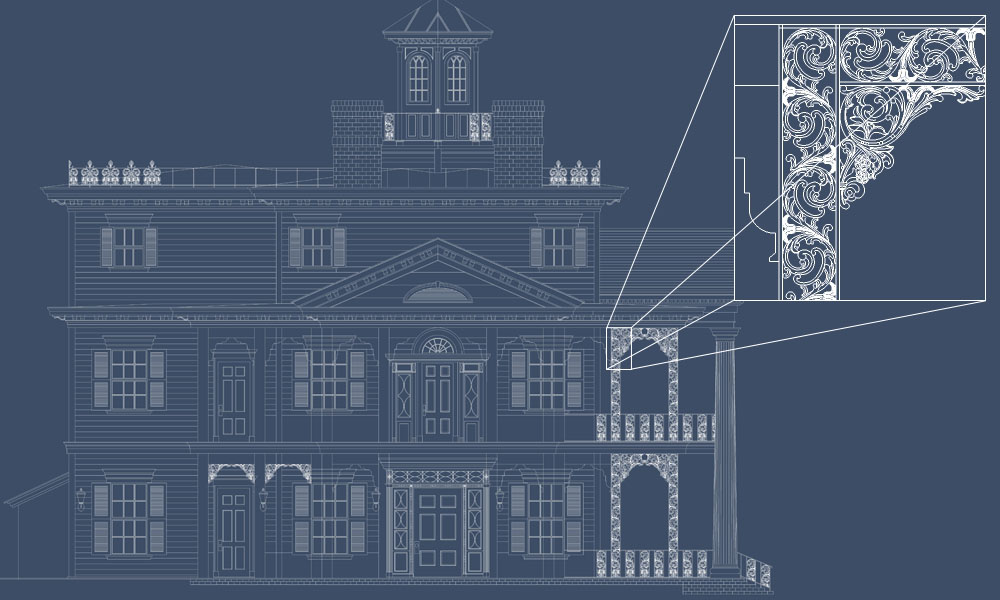
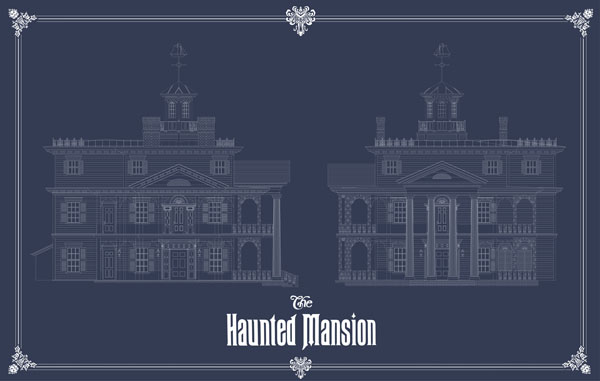
I recently finished with over 200 hours worth of hand drawing a vector set of blueprints in both color and blue-on-white. They show the fantastic detail of the wrought iron on all levels of the building, along with the beautiful molding around doors and windows.
January 2012
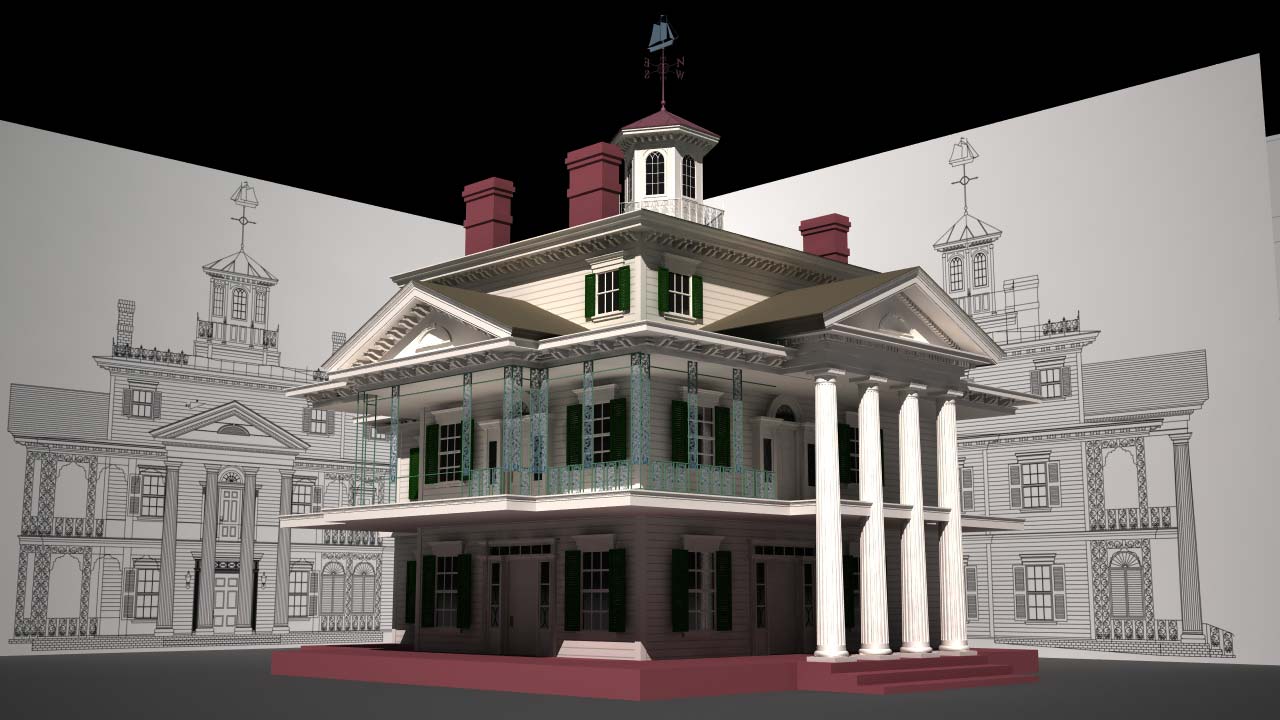
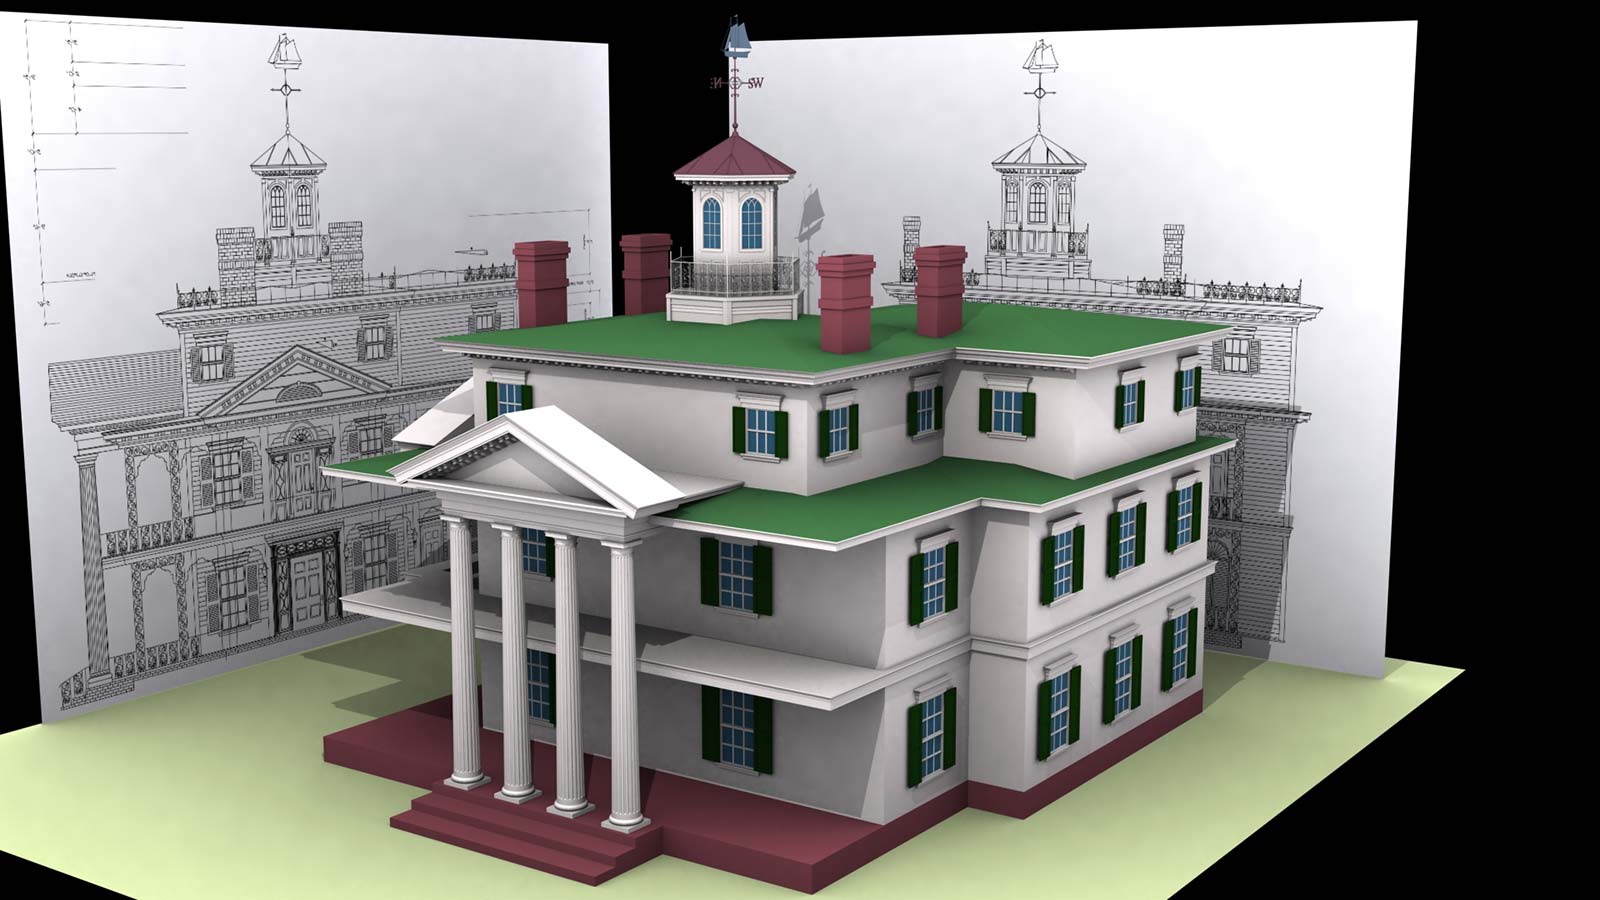
This is a model I have been looking forward to building for a long time. It is a popular attraction, therefore there is quite a bit of reference material out there for me to work with. I am going to make this as detailed as possible so that when I finish we can fly around it in an animation.
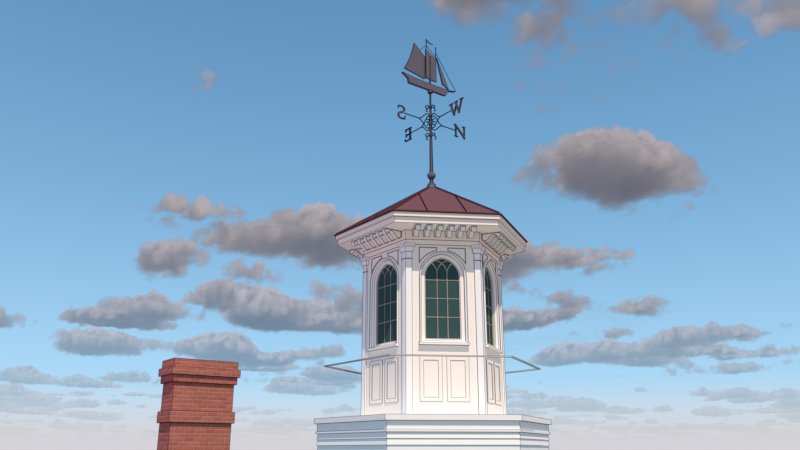
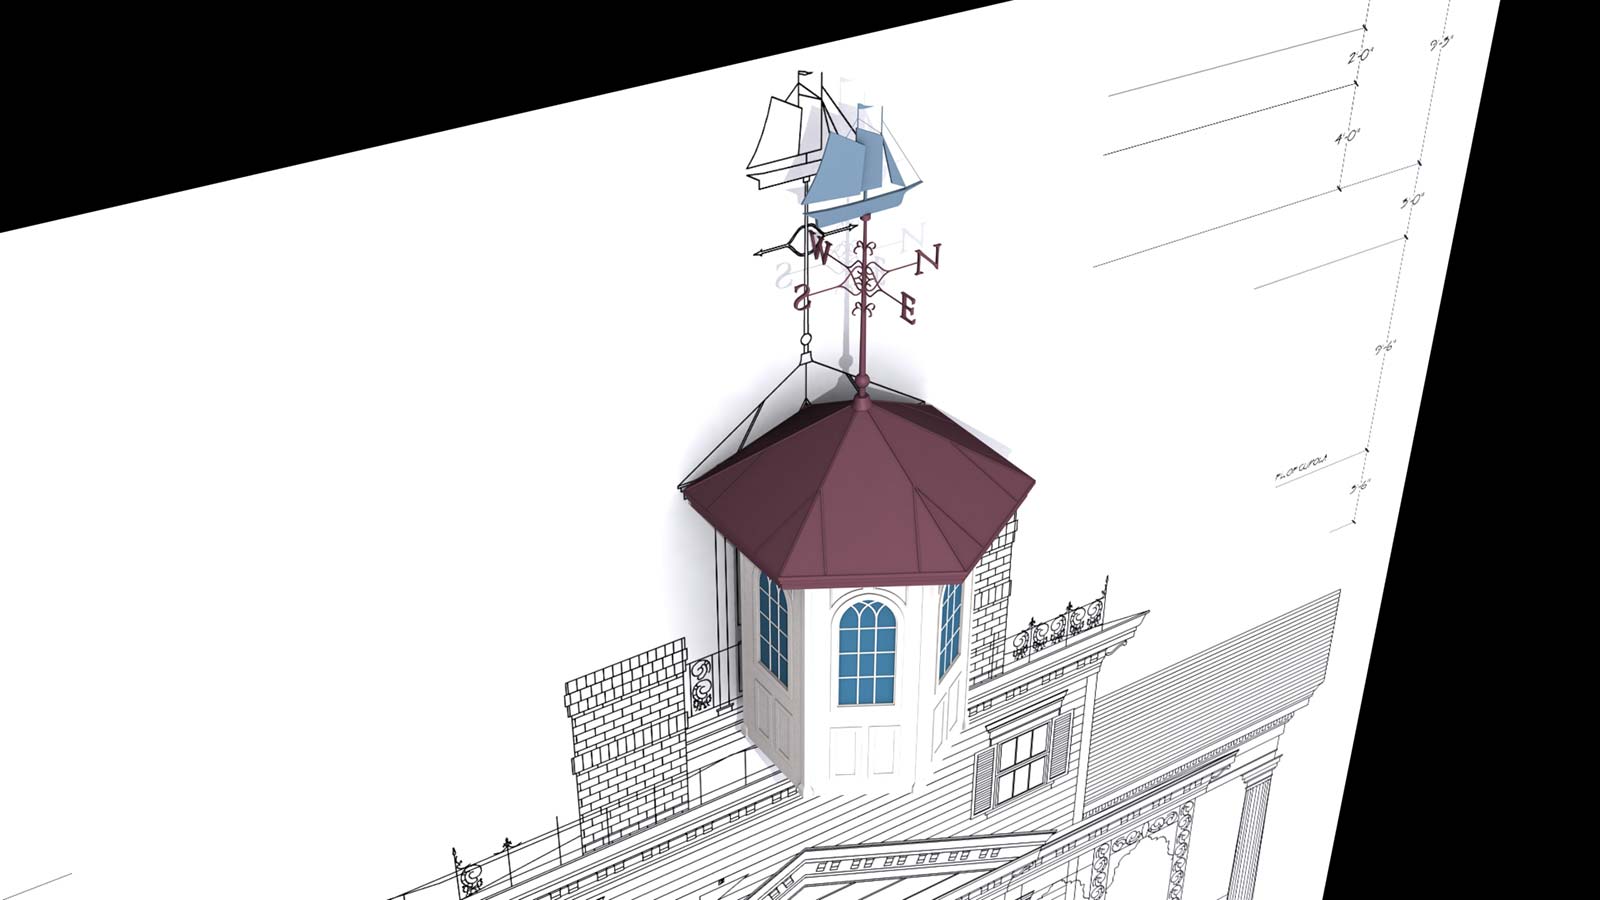
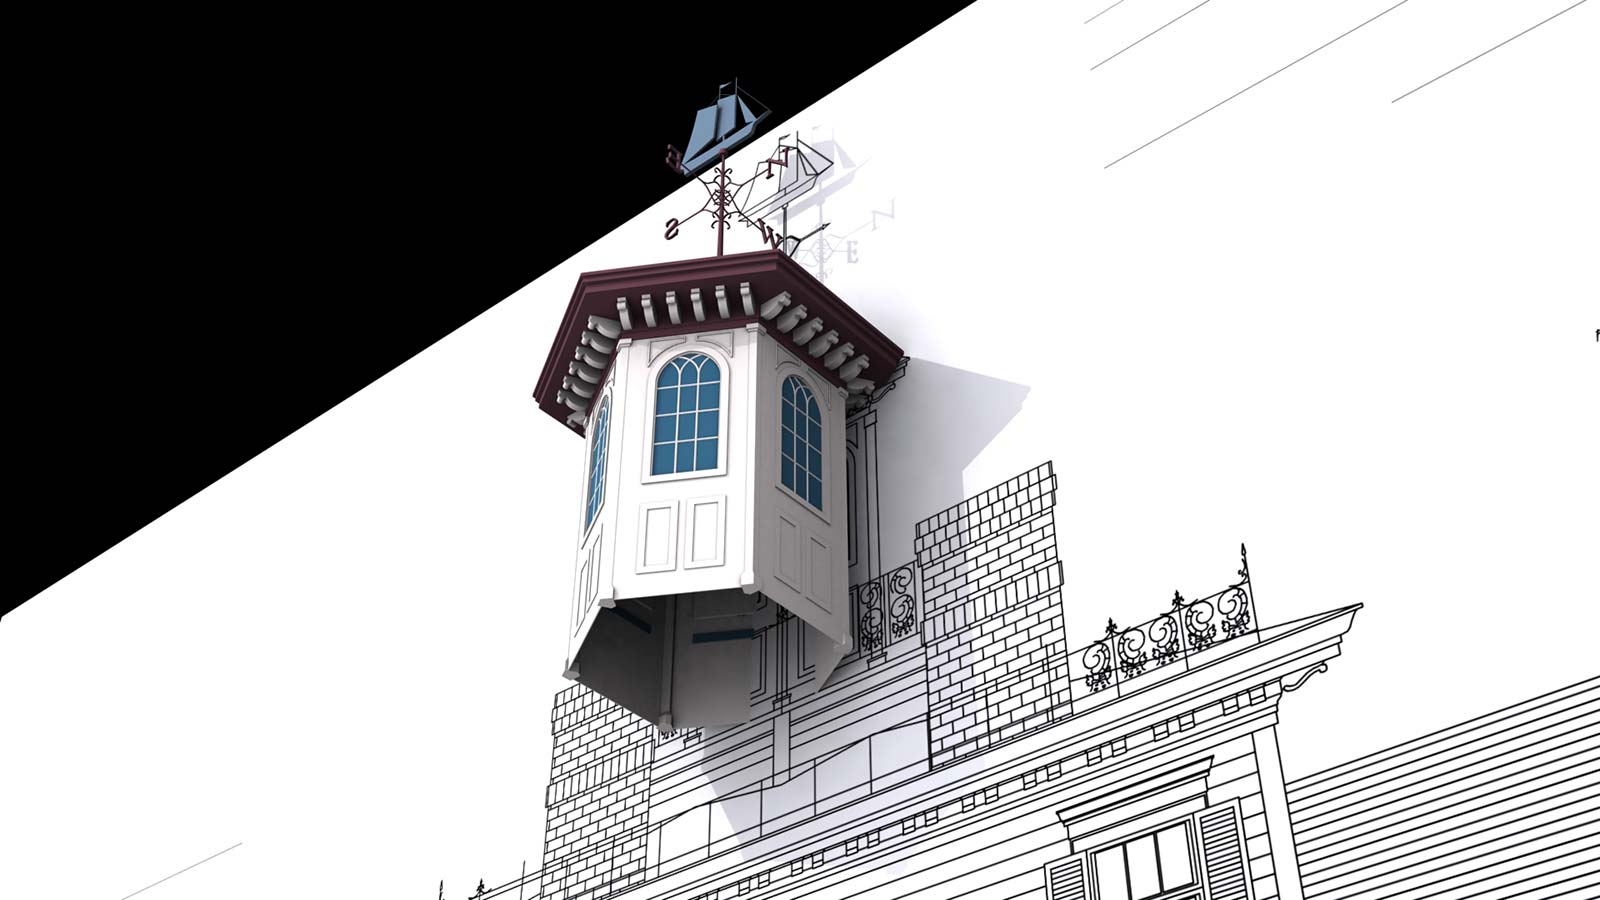
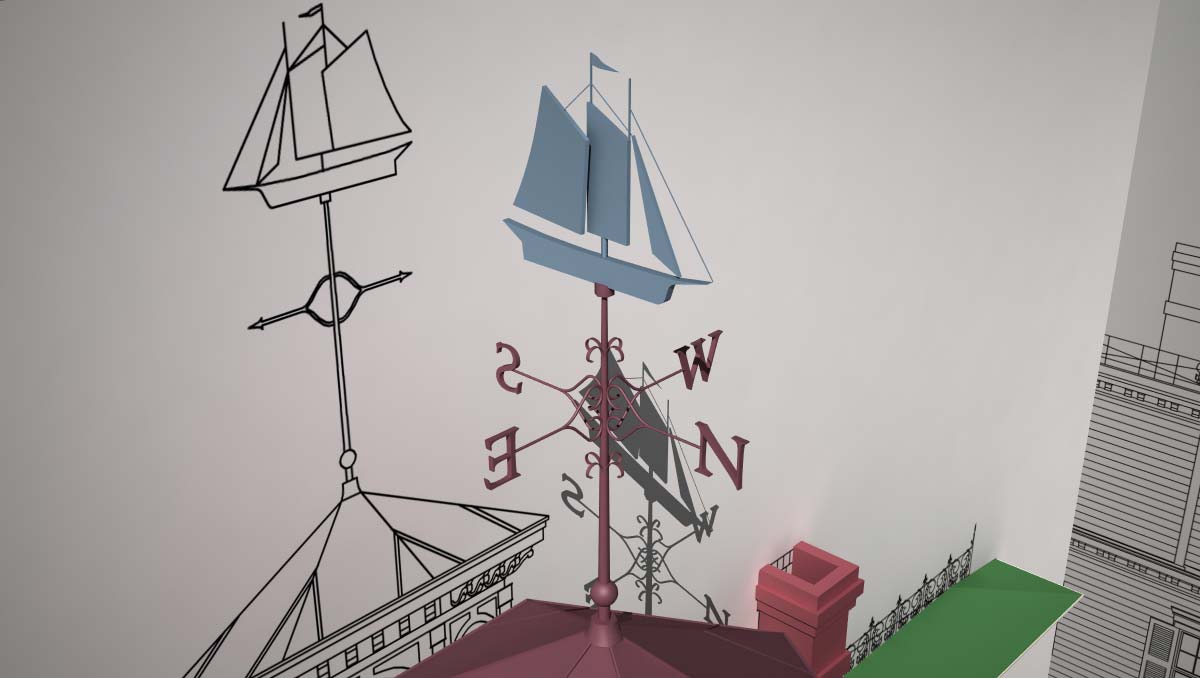
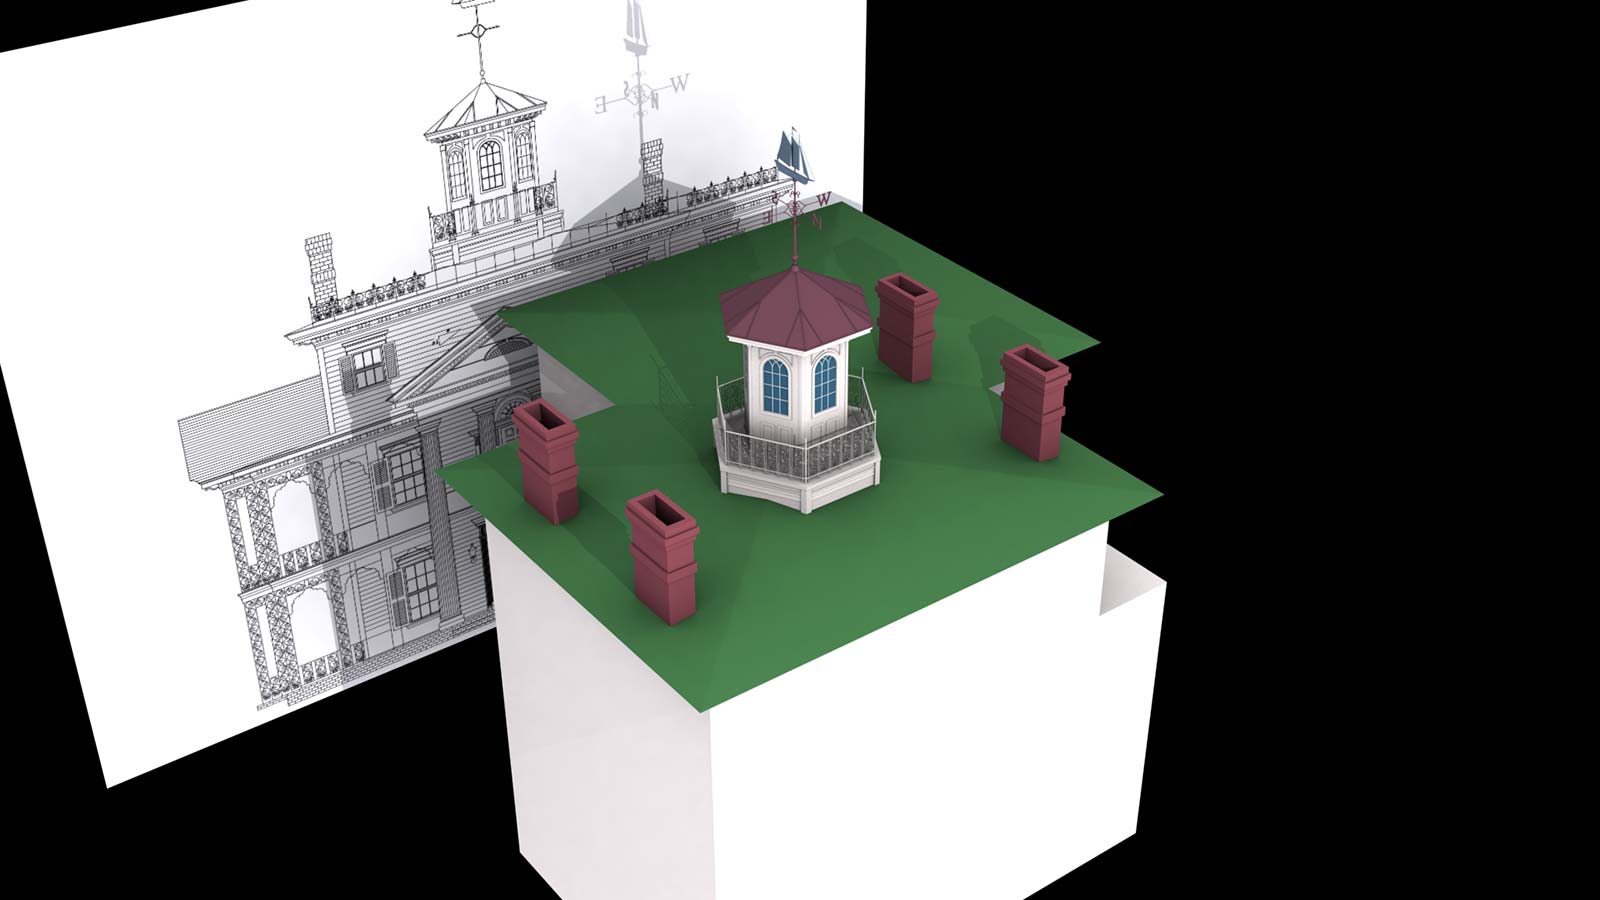
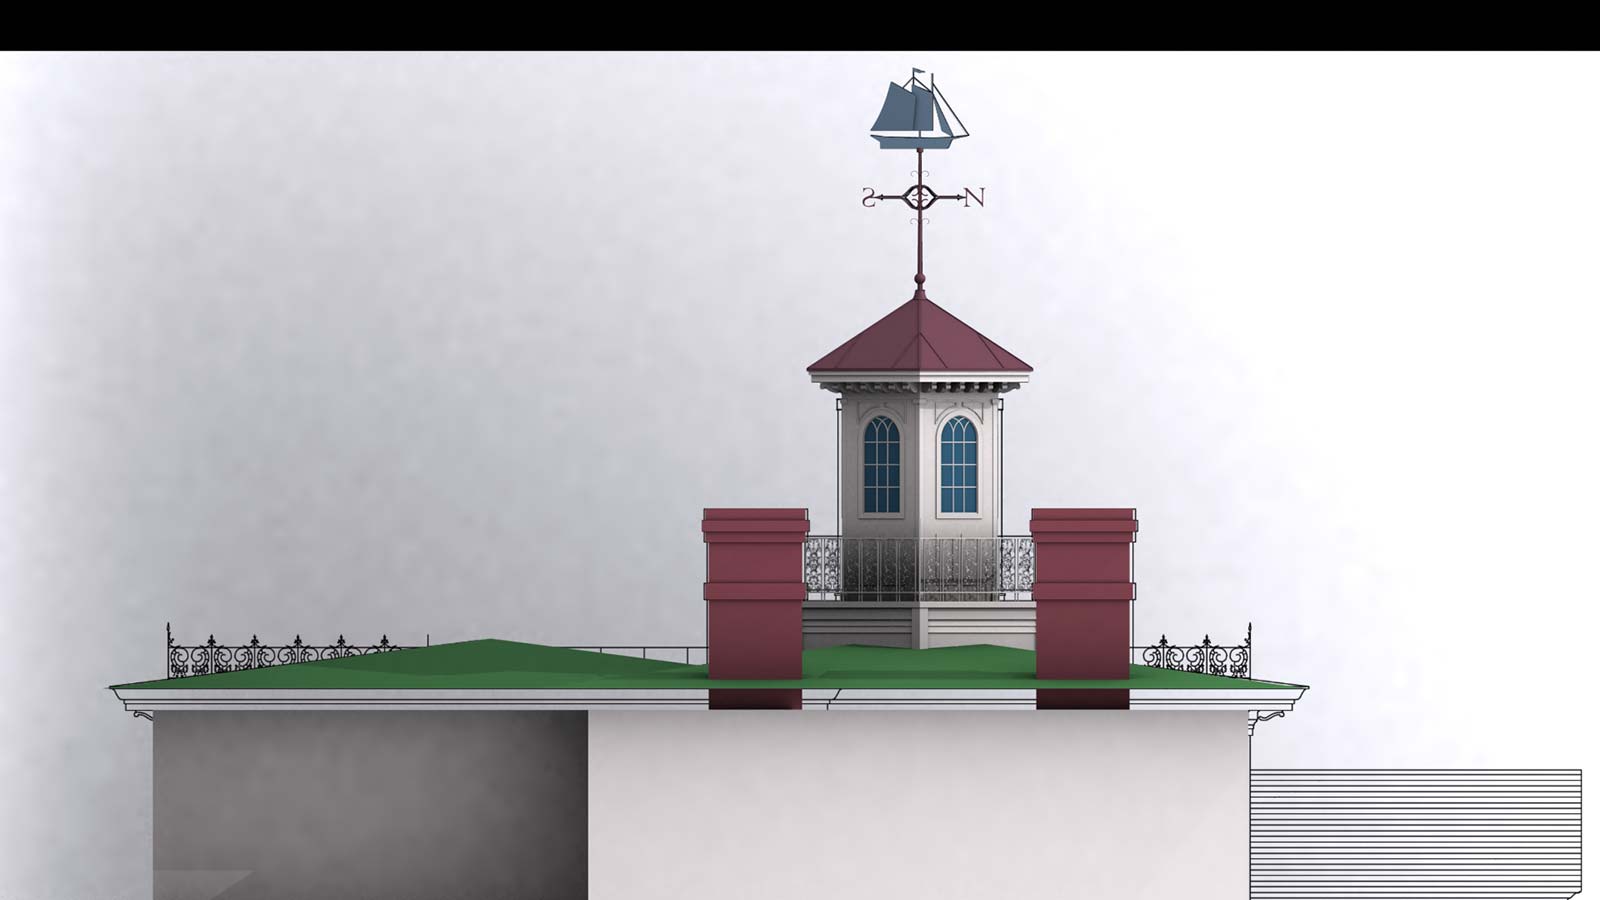
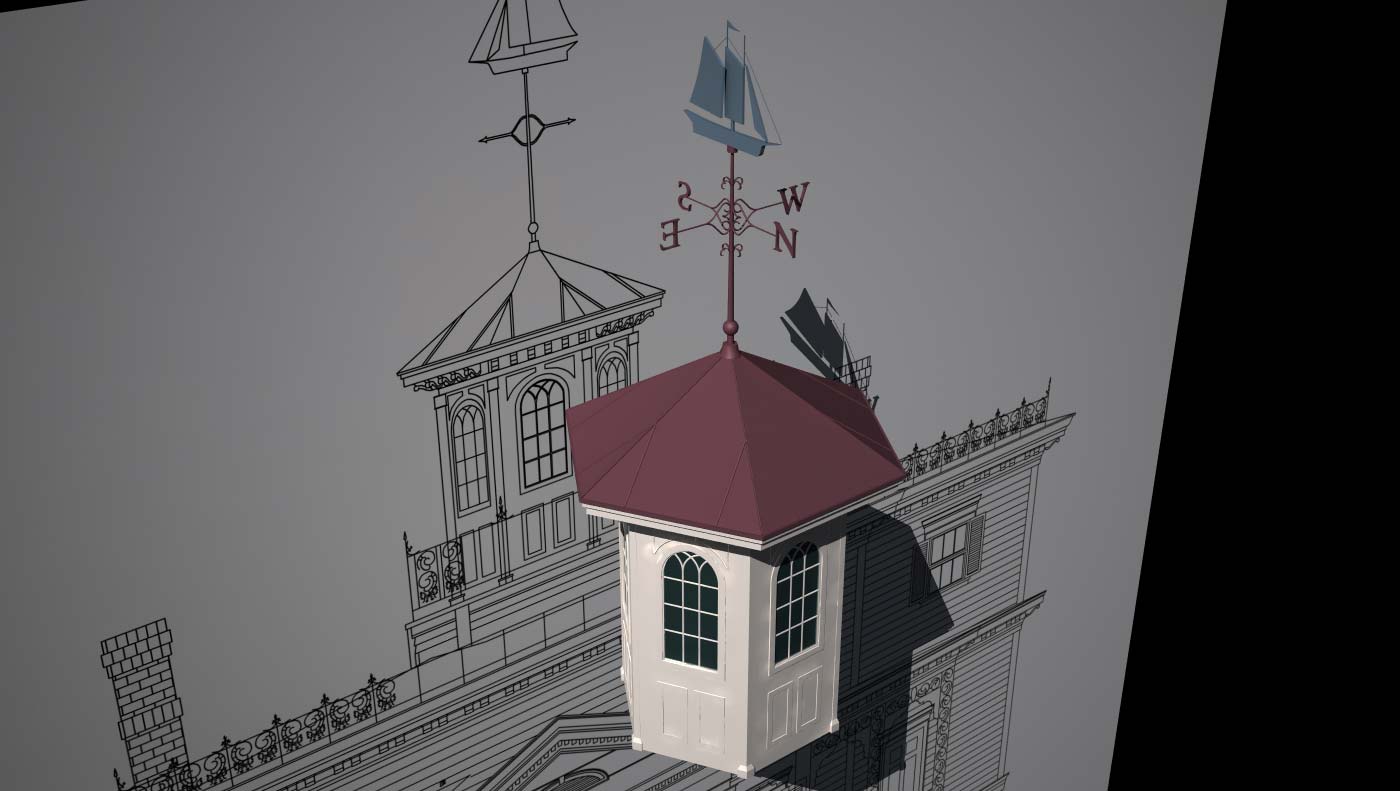
This first section is the cupola and its weather vane. The weather vane was originally envisioned to have an arched-back black cat as the main element but this was later changed to the masted sailing ship you now see.
The weather vane is one of the first elements I modeled. Looking closely at photos of the cupola, I noticed the vane had direction initials. This shows you the difference between what the original blue prints might show and what was really built. You'll see the same discrepancies on the Main Street Train Station.
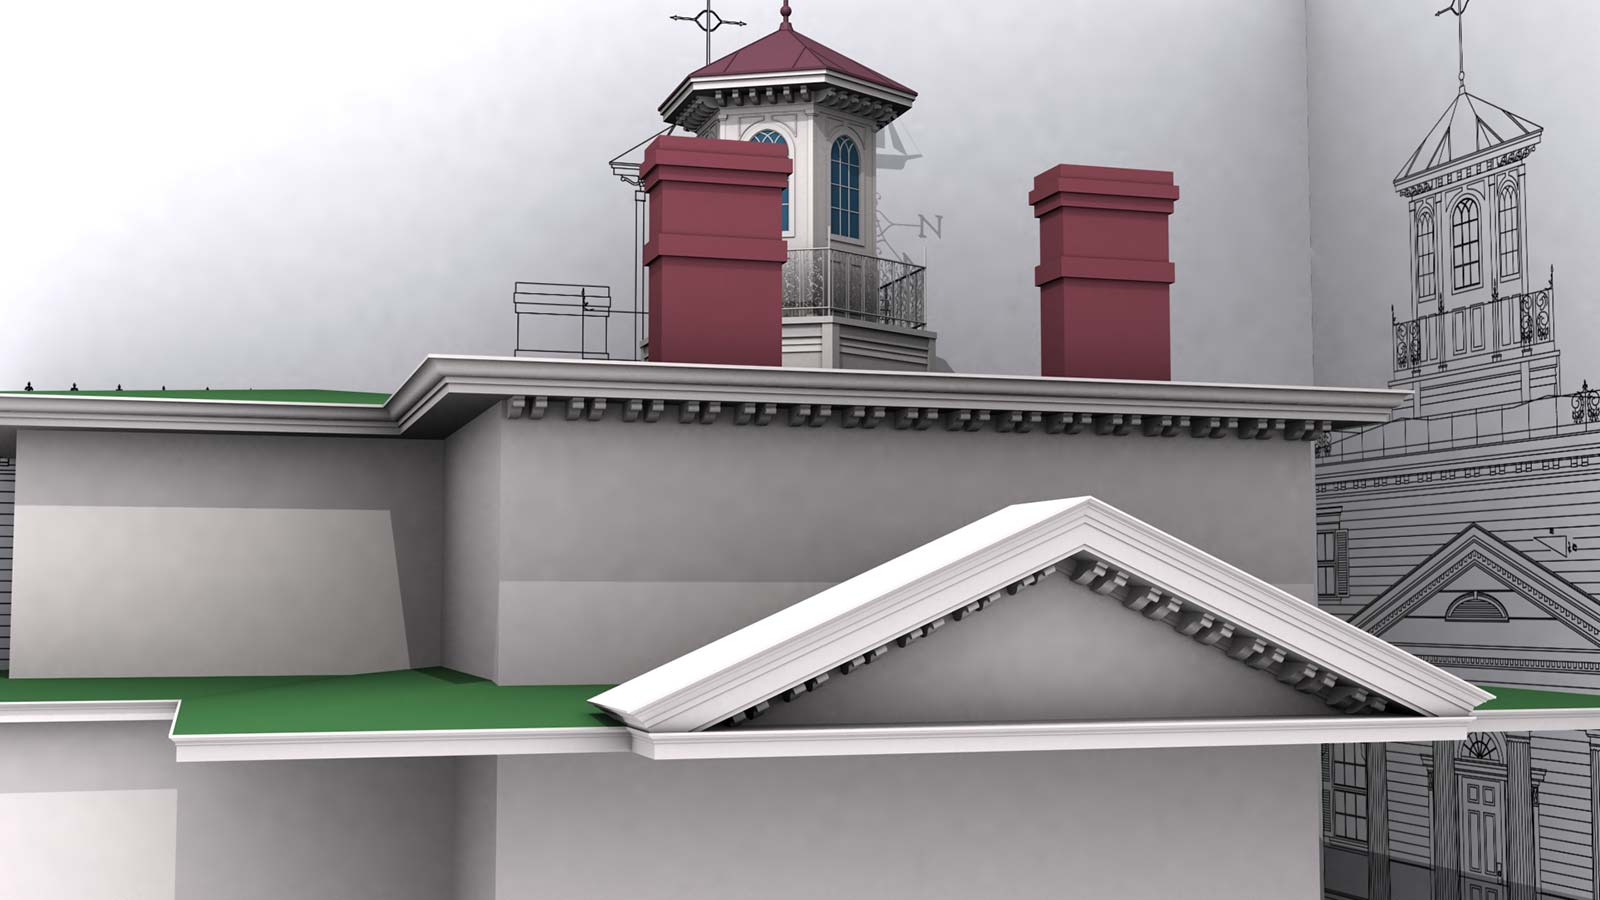
Funny thing: In reality, the chimneys are not hollow. They are capped. Which makes sense, since they are not functioning and would be more trouble if they had an opening. Without the SouthWest elevation I am having to do some guesswork.
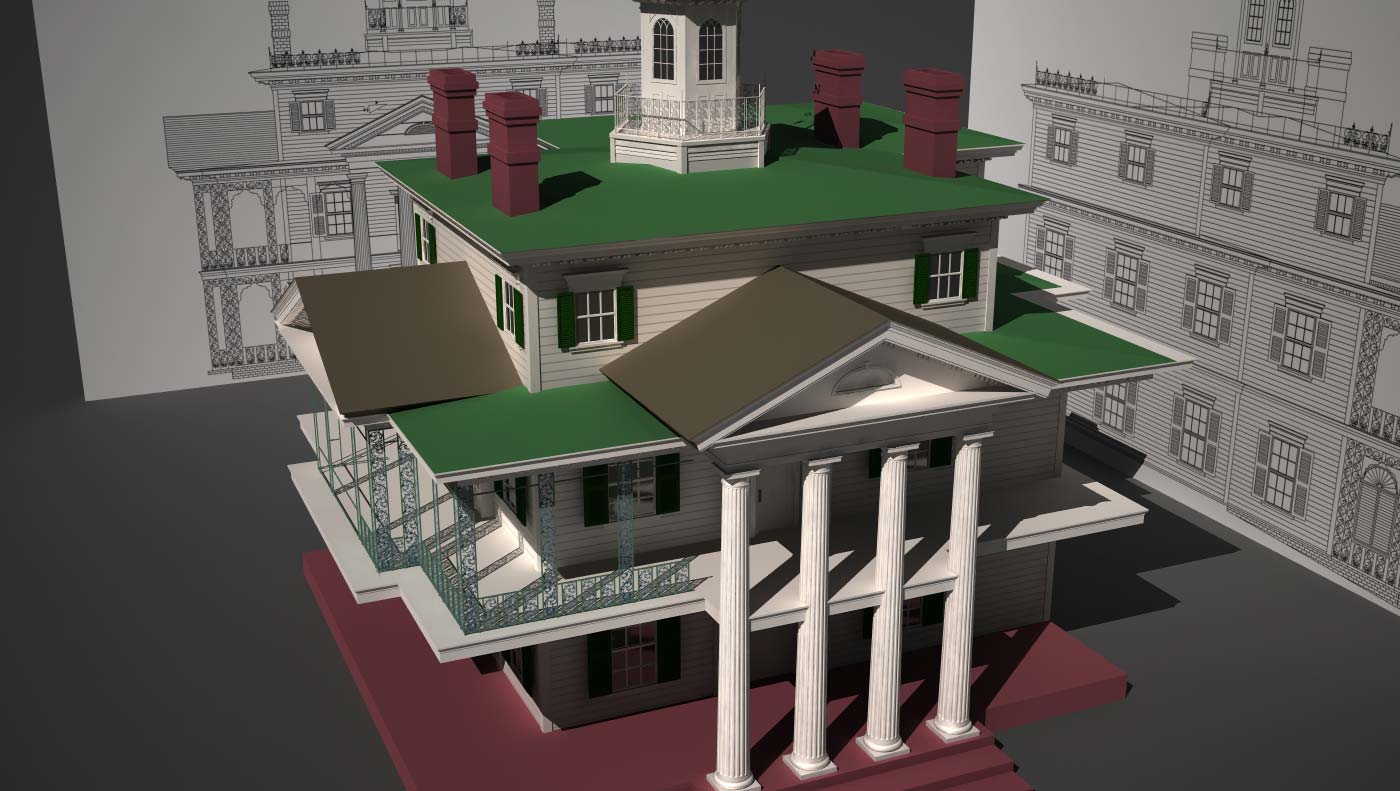
Last night added the molding/trim around the roof lines and this morning created the triangular pediment on the south east side. Corbels are being added on each level in groups of two. Notice the cupola corbels are not grouped but evenly spaced.
Made a lot of progress this morning modeling 3 types of windows, the foundation for the building, the fluted columns and extending the corbels around the north west side of the top roof.
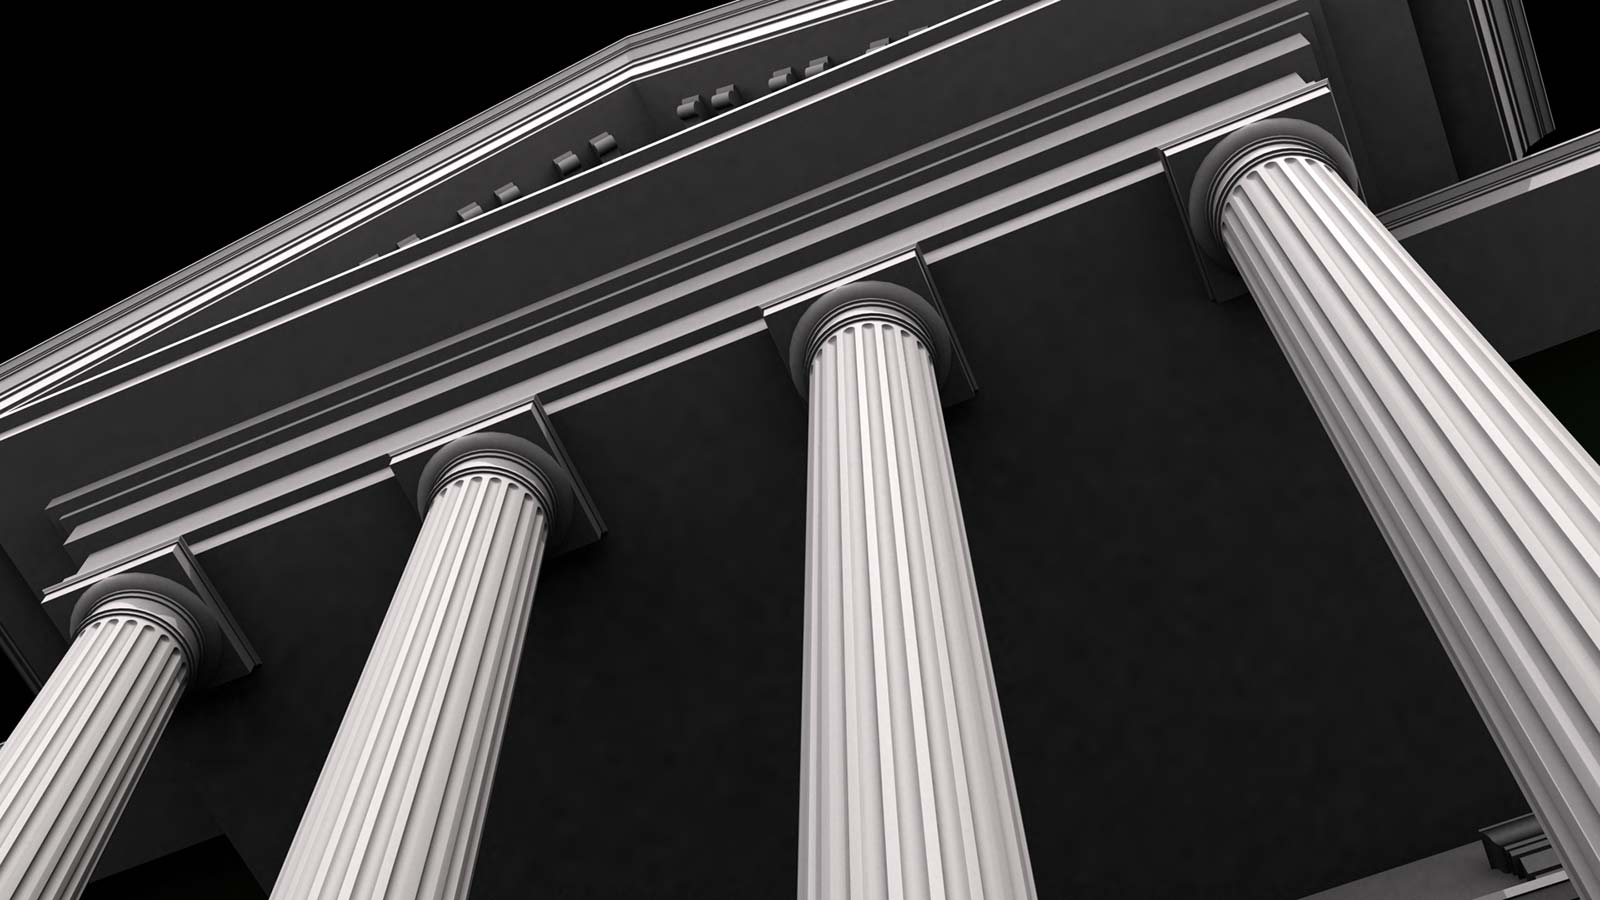
I was sure these Doric Order fluted columns were going to be difficult, but they ended up being quite simple when using a circular array of 20 extended capsules and then doing a subtraction boolean operation on a cylinder.
(CAD work by Flickr user 'enfilm')
February 2012
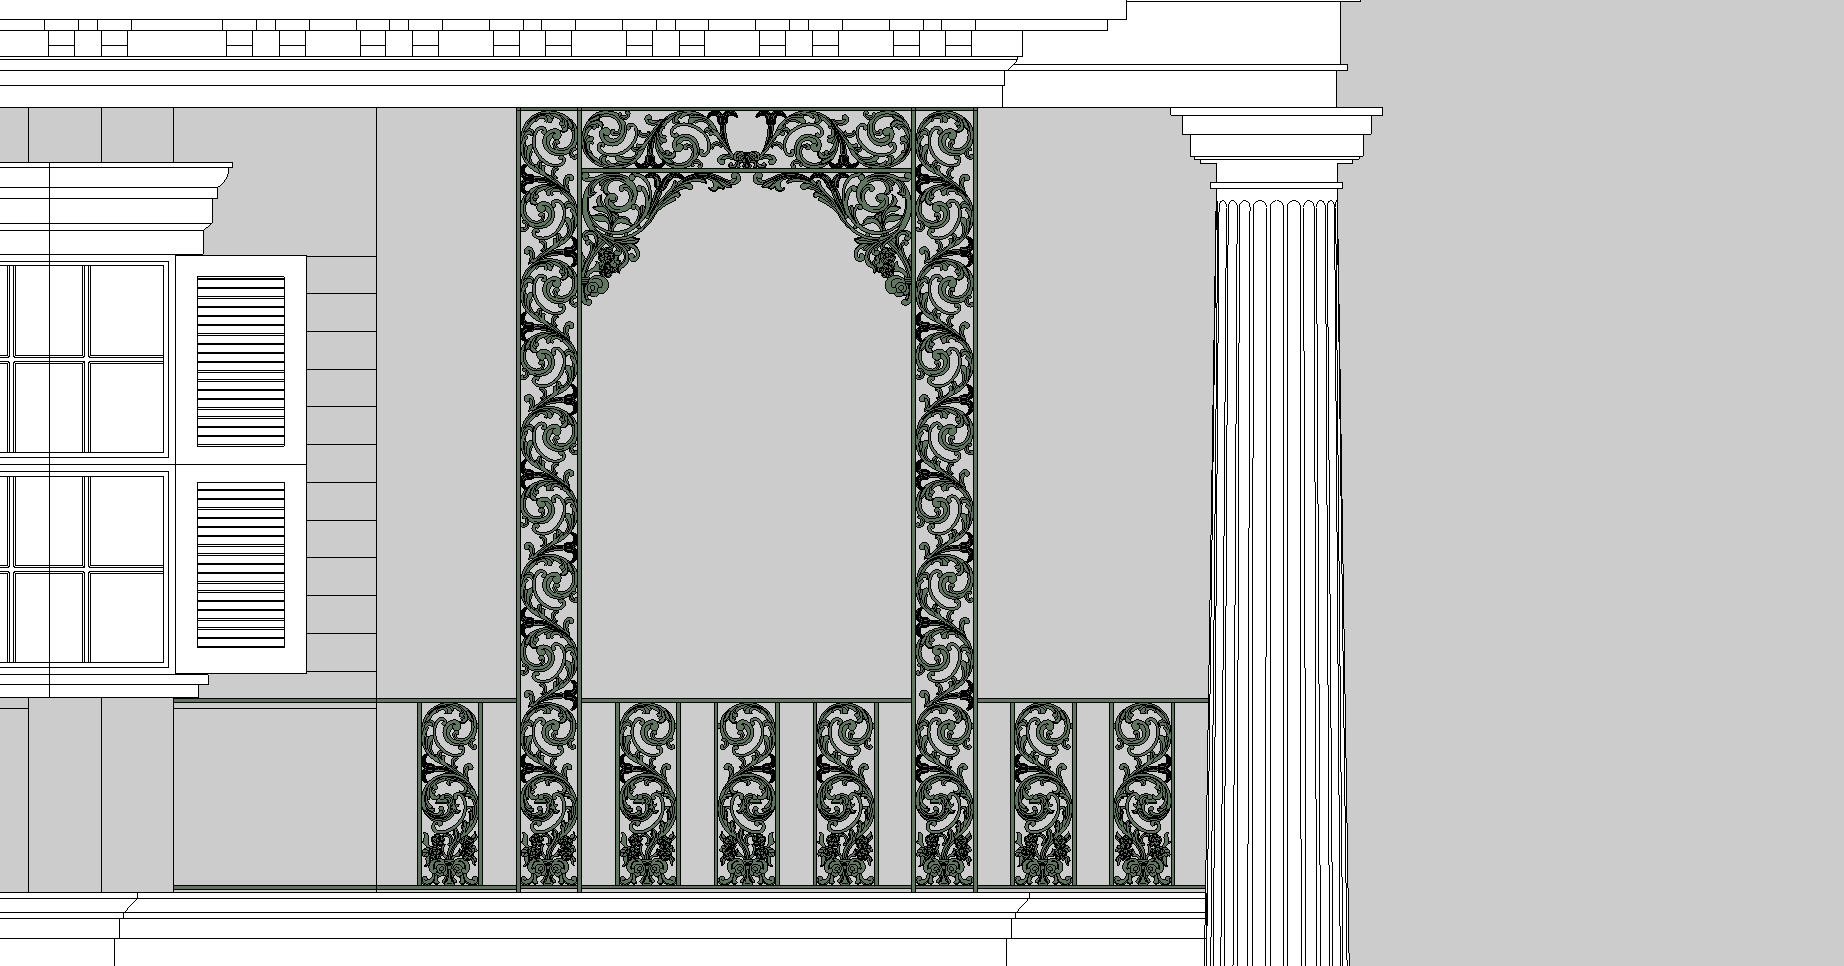
This wrought iron is the most difficult aspect of the model so far. The deco is not 3D, but a opacity mapped PNG texture that I spent hours on in Photoshop.
-
Been working on the upstairs doors. There are virtually no photos taken of these and if there are, they are always in shadow. So there is a bit of guesswork involved... even with rough blueprints in hand.
-
Today I expanded the 2nd floor wrought iron around the porch, added vertical corner trim all the way around the house, extended the 2nd floor corbels 360 degrees and attached them to a new piece of molding that intersects both pediments. I also positioned both of the 2nd floor doors and textured the main walls with a wood siding that simulates the shadow a real piece of siding would create as it overlaps the one below. Next up, I need to replace the corbels inside the north pediment (they are the wrong type), texture the chimneys, create the more complex 1st floor doors and then finish the wrought iron.
-
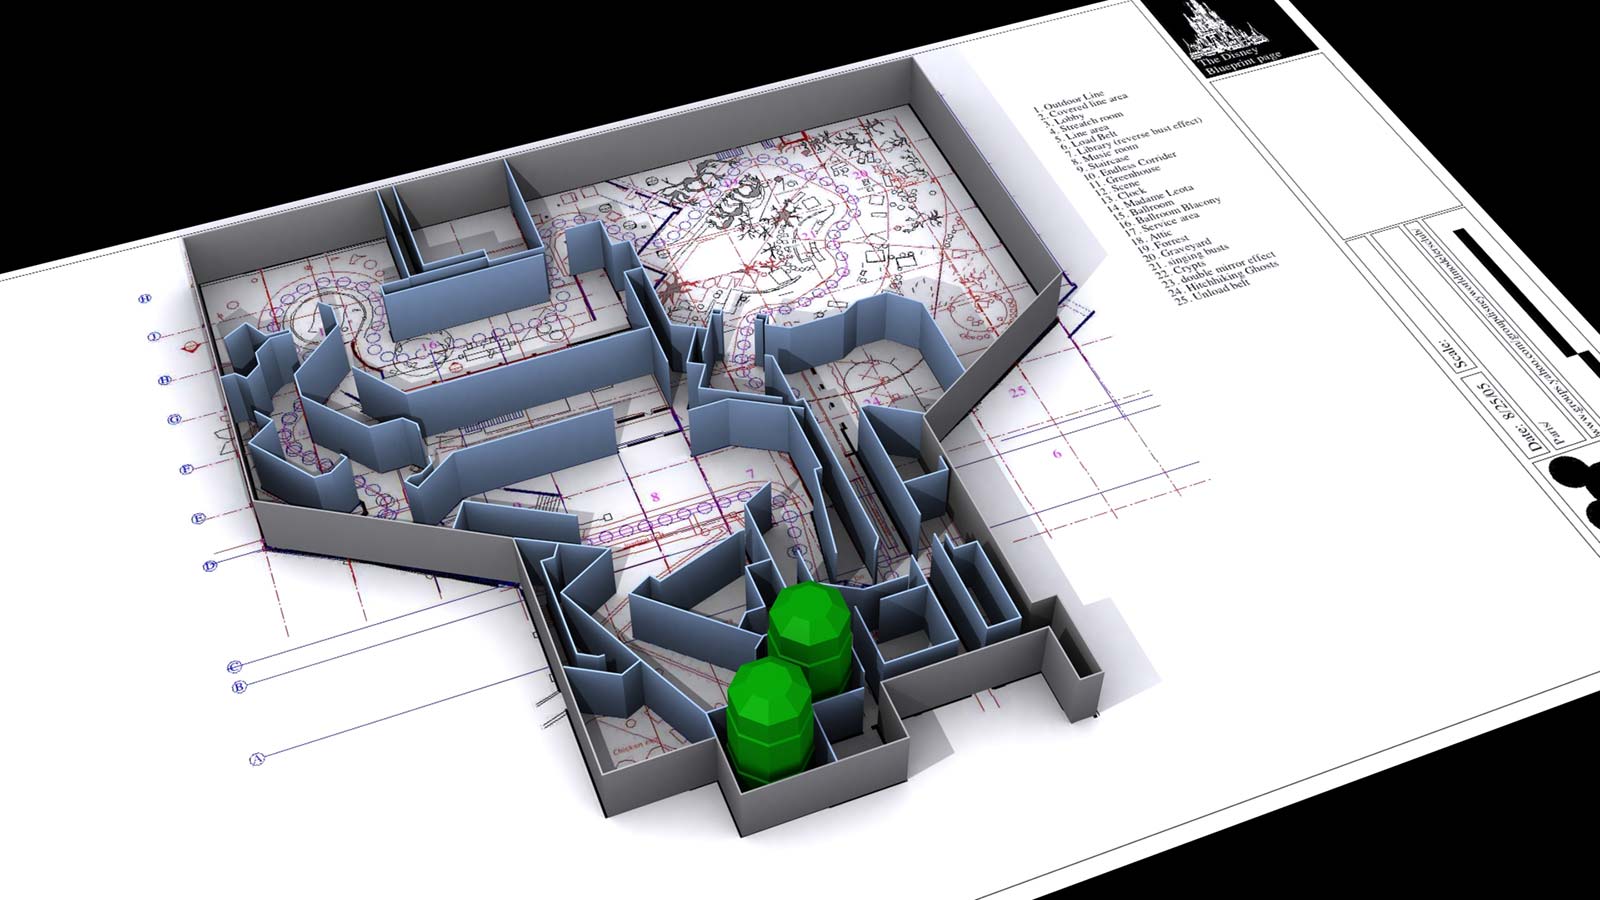
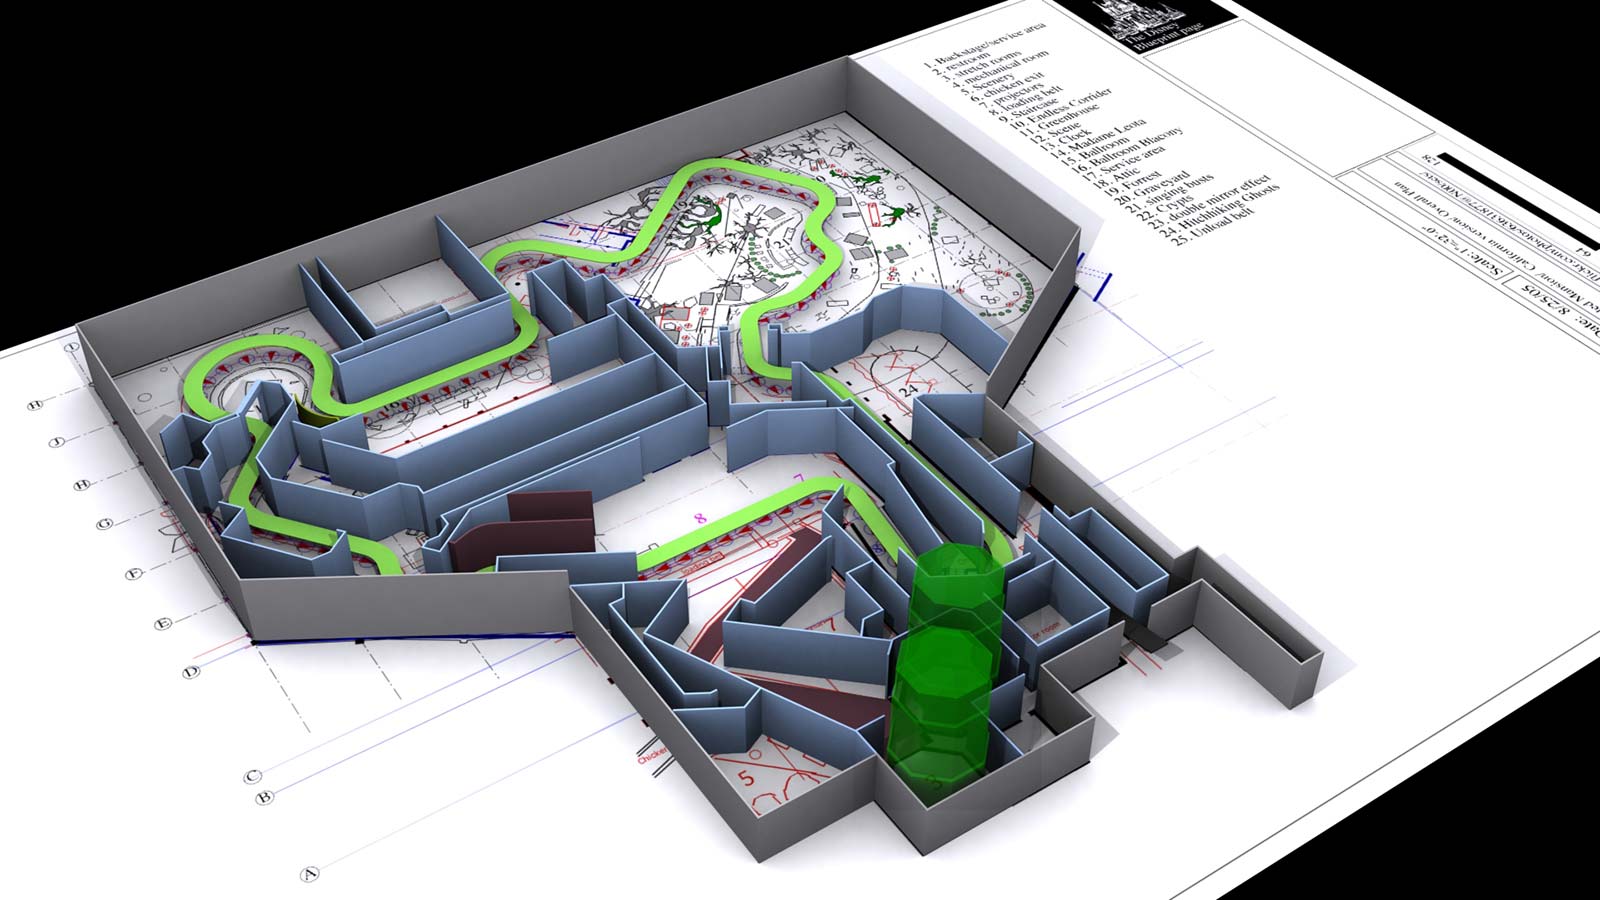
This is just a rough beginning of the ride layout. The wall heights are way off right now; I am waiting for some numbers before I correct. The two green octagons are the stretching elevators, which I will texture with the stretching paintings ( Lyndsey Wick). The floor plan done in CAD was provided by an amazingly detail-oriented Flickr user called 'enfilm'. You can see he has listed the rooms in the upper right.
-
Laid out the track along its path, put down the carpeted walkway from the elevators, along the changing picture gallery, past the busts with wandering eyes and right up to the moving walkway where you board your 'doombuggy'. I also updated the floor plan with a higher resolution version provided by the creator 'enfilm' on Flickr.
-
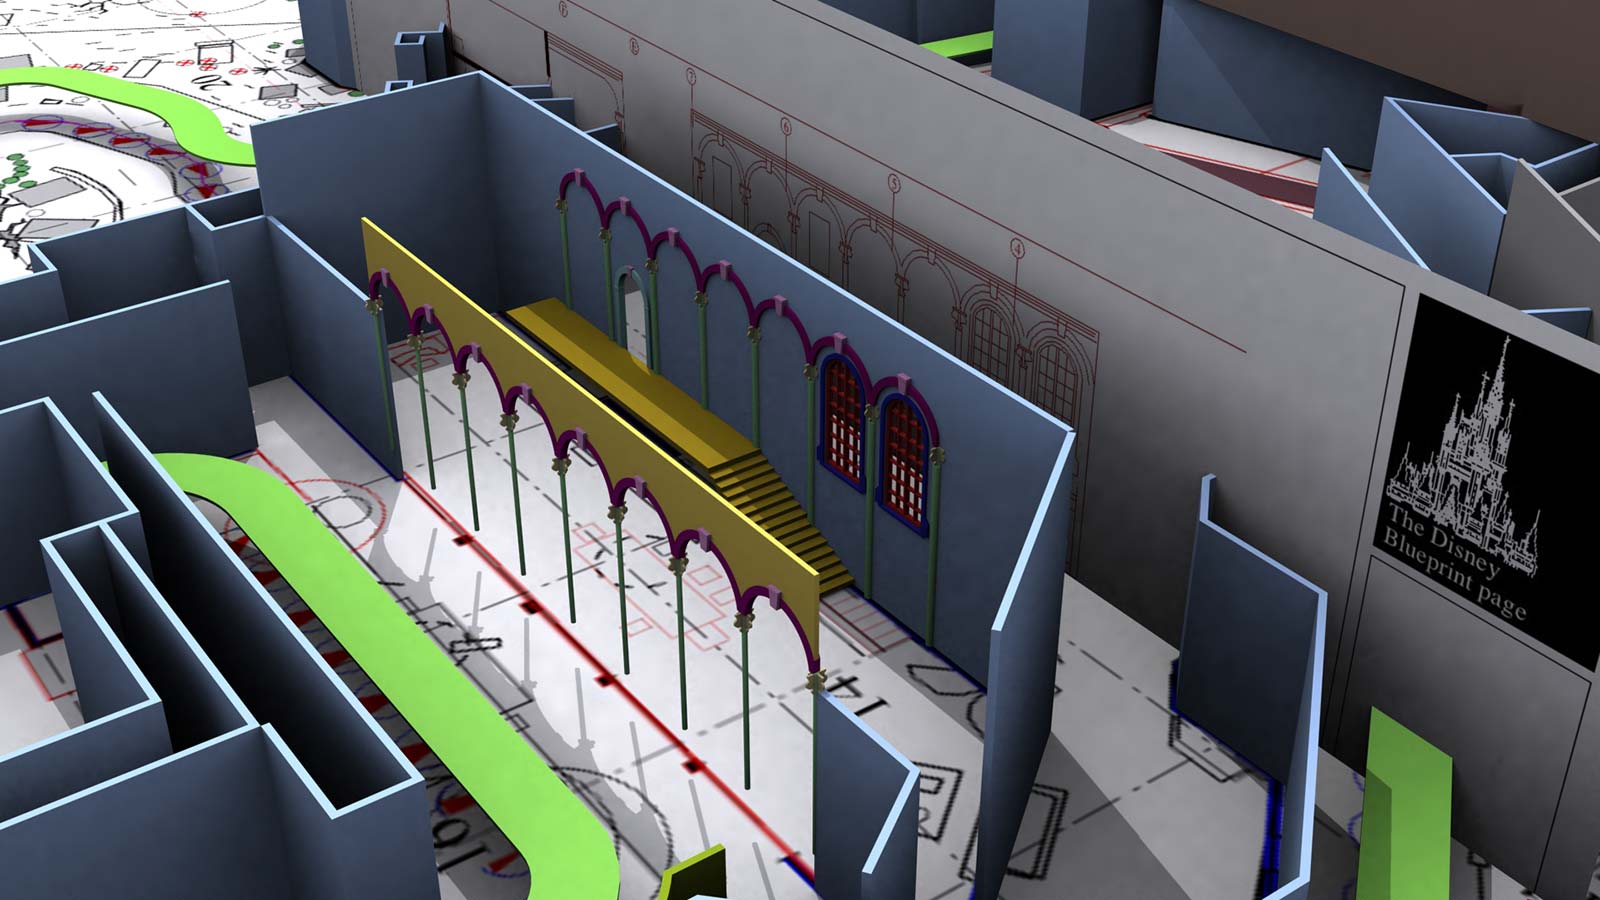
Focused on the Ballroom scene. The benefit is that I learned exactly how the hologram dancers and feasting ghosts are created. I will only give that away if you want me to! (Black & White CAD work by Flickr user 'enfilm')
June 2012
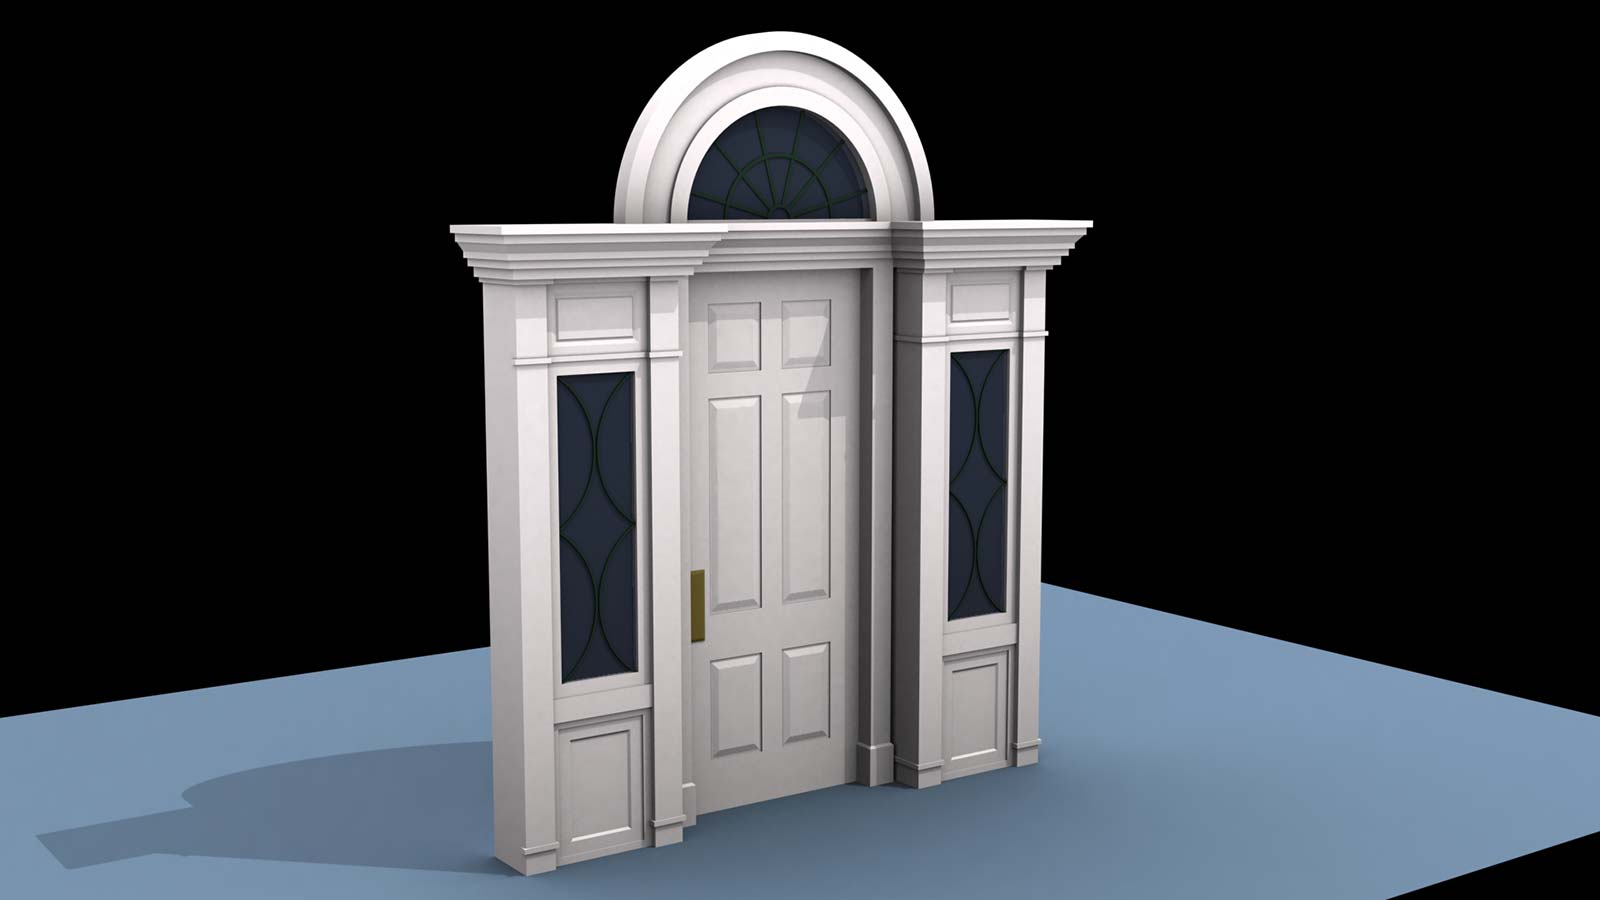
I set up a brand new lighting rig, with all new calculations based on indirect illumination settings. It may not render faster, but I think it adds a touch of realism to the light color, bounce, bleed, and shadowing. Also created the two main first-floor doors, extended the 2nd floor into the columns, and added the two arc vents inside the 3rd floor pediments.
April 2017
So far I have four separate elements being used from the top to the bottom of the building. You'll notice one of them had to be sketched based on a blurry photo. The element adorns the top railing surrounding the cupola.
-
Here's a screenshot of how these different wrought iron elements come together. This railing set follows the wrap-around porch on the both the 1st and 2nd floors.
-
Helping physical modelers with 3D printable parts allows me to find errors in my own models. Rendered grey models help with that as well.